
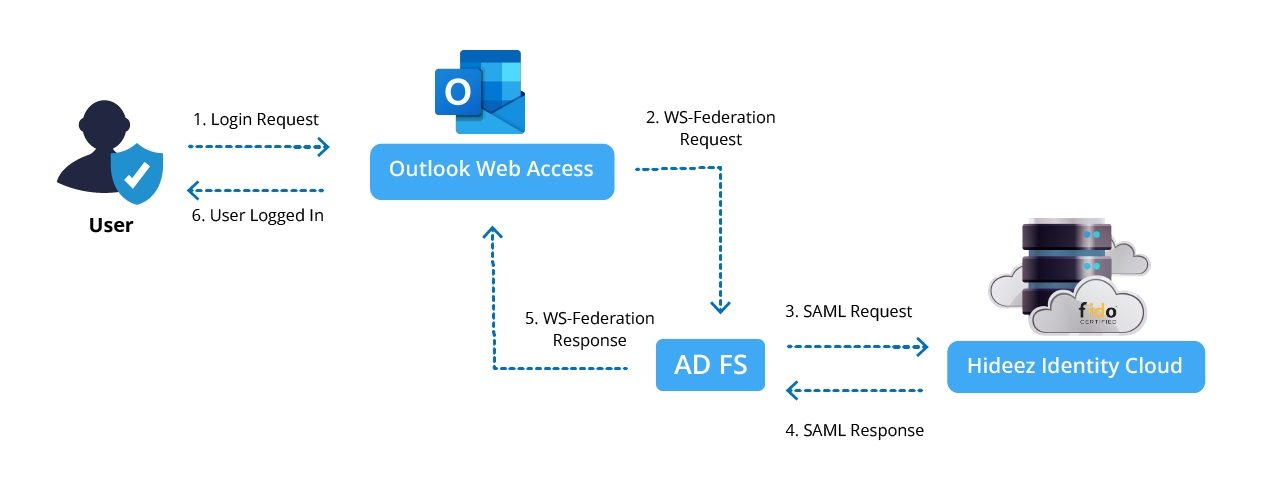
Login to Microsoft Exchange OWA Using AD FS and Hideez Identity Cloud as a Third-Party IdP
1. Initial Setup
Prerequisites
2. Configure AD FS and OWA
Step 1: Export AD FS Signing Certificate and Import to Exchange Server
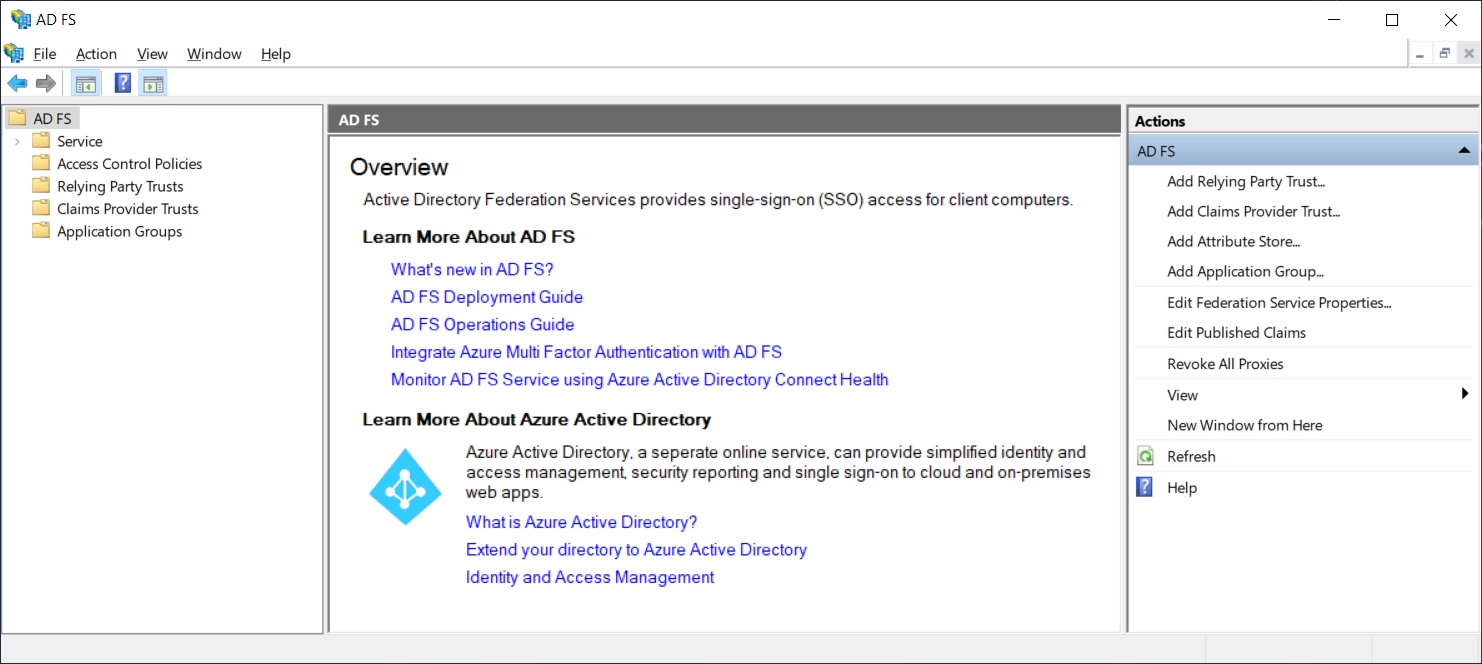
To export the certificate, log onto the AD FS server, launch the AD FS Management Console, navigate to AD FS -> Service -> Certificate
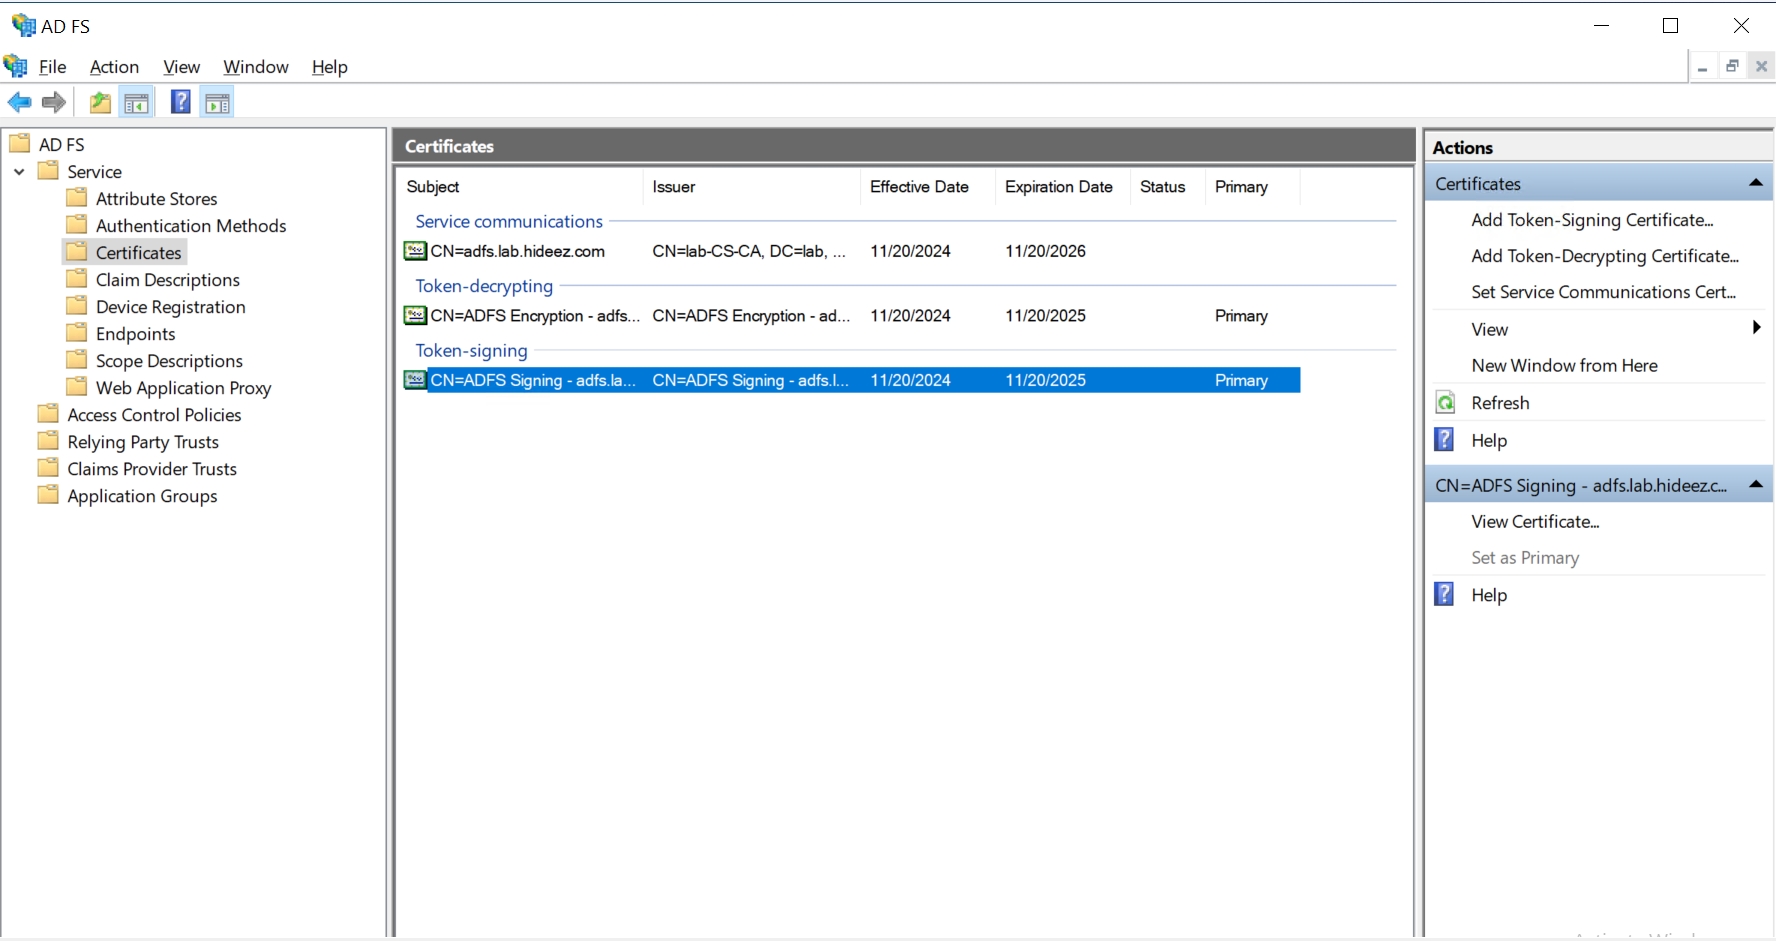
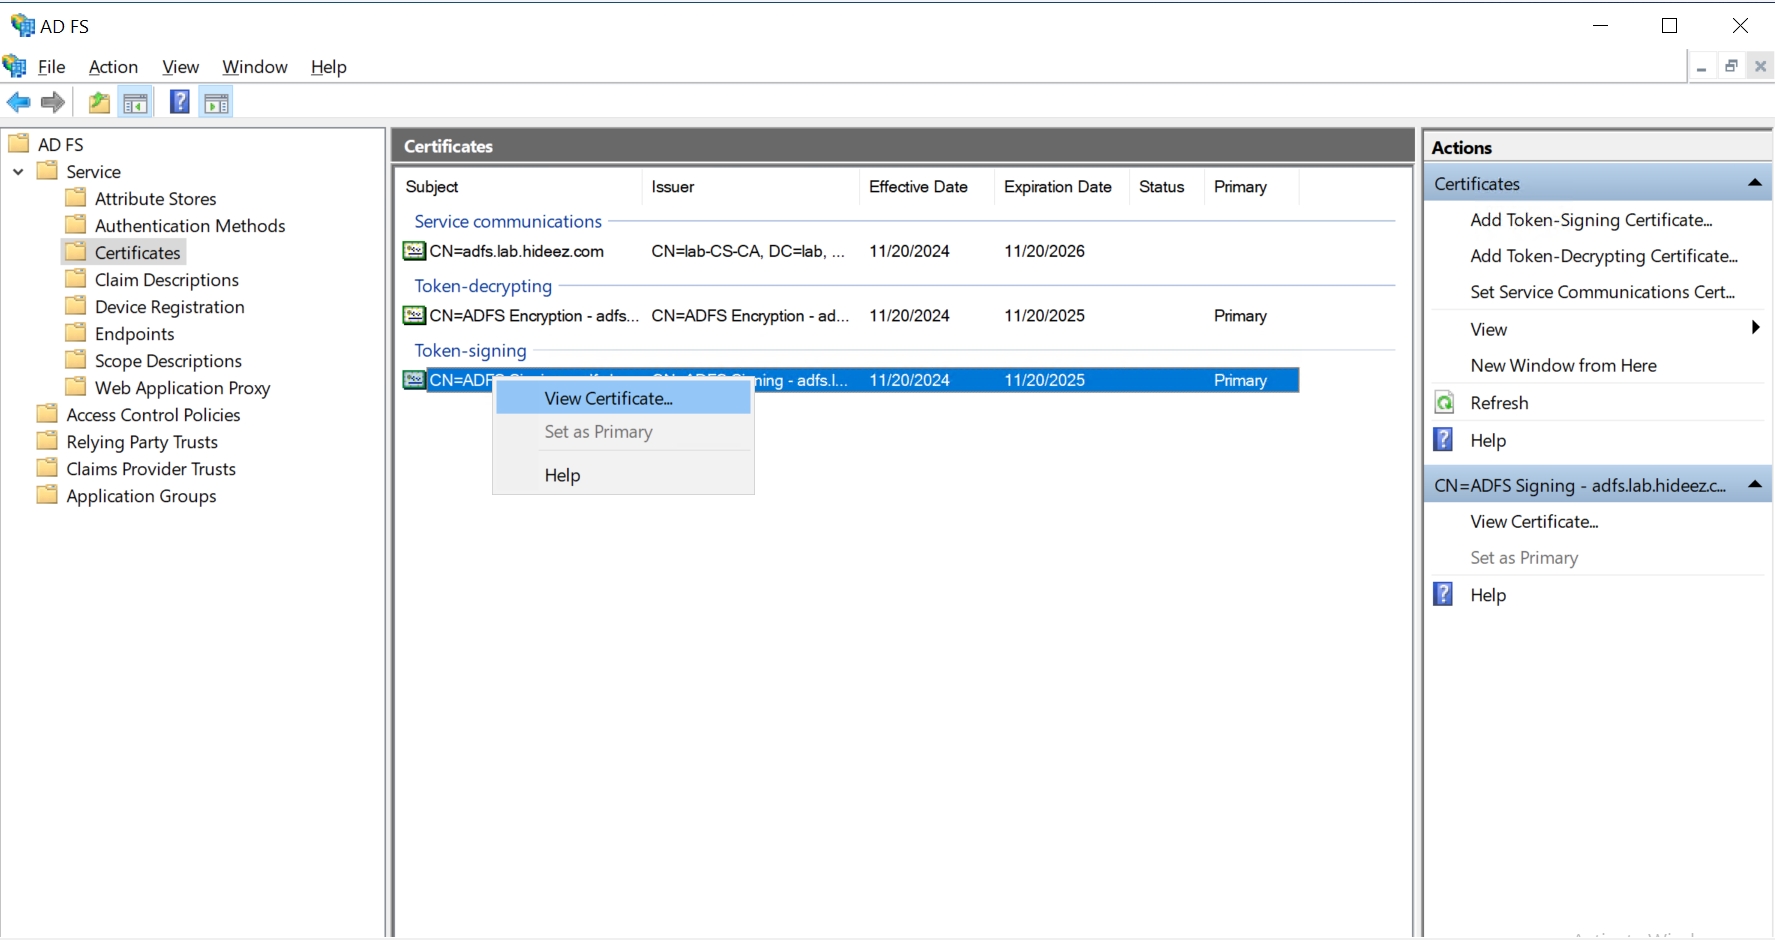
Select the certificate listed under Token-signing, right click and select on View Certificate…:
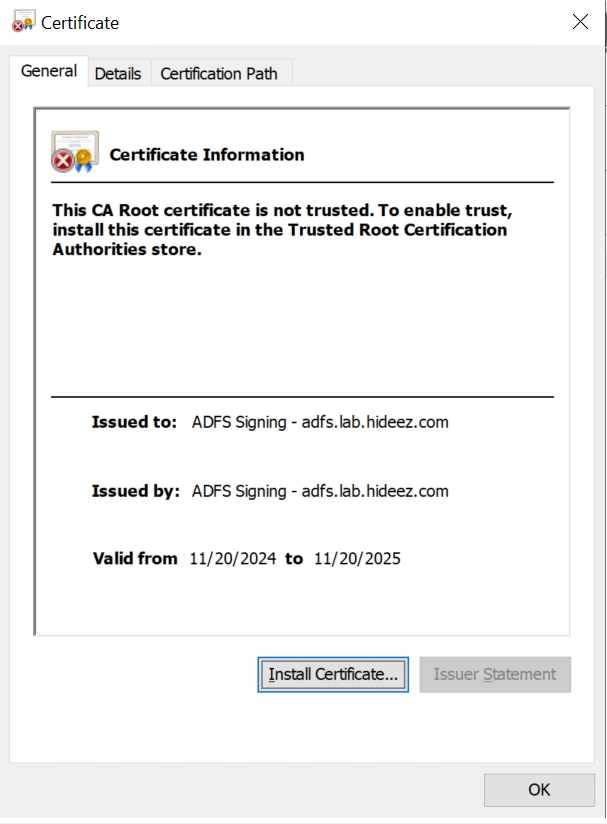
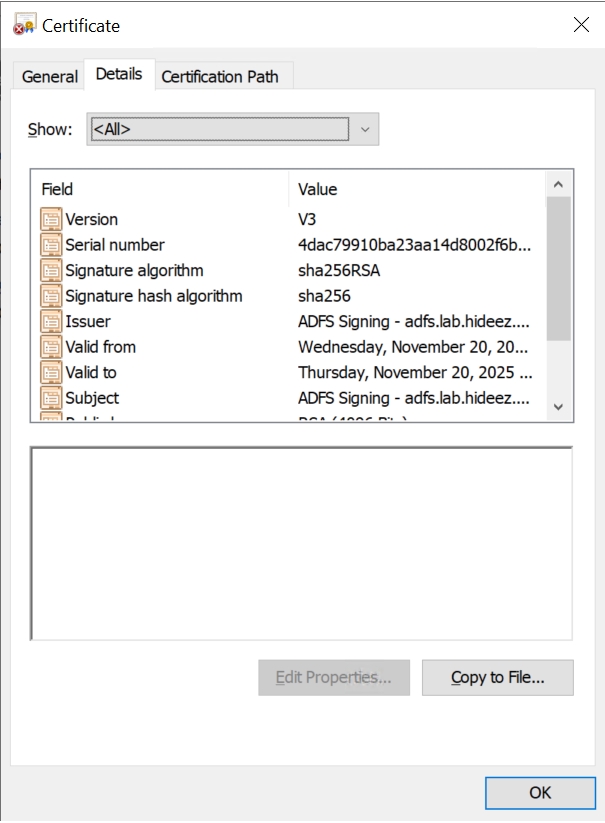
The general properties of the certificate will be displayed.
Proceed and navigate to the Details tab and click on the Copy to File… button:
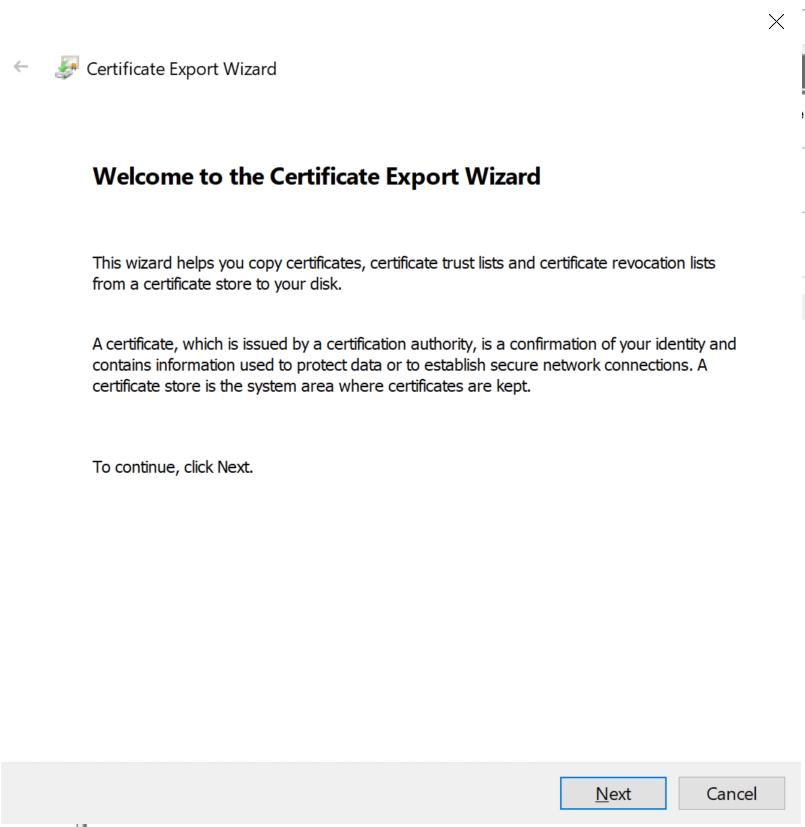
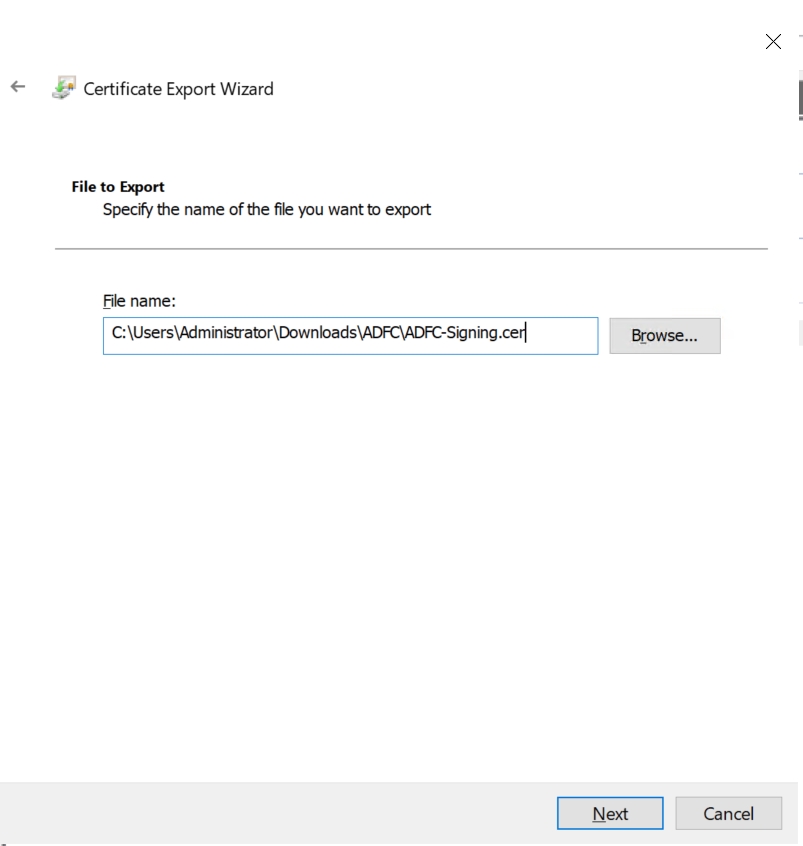
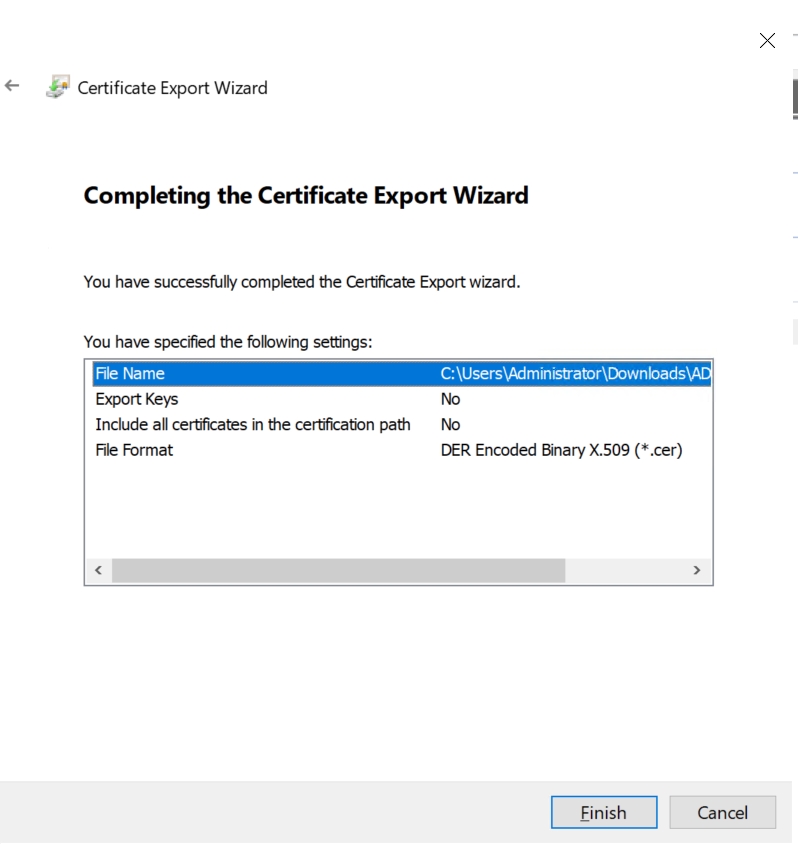
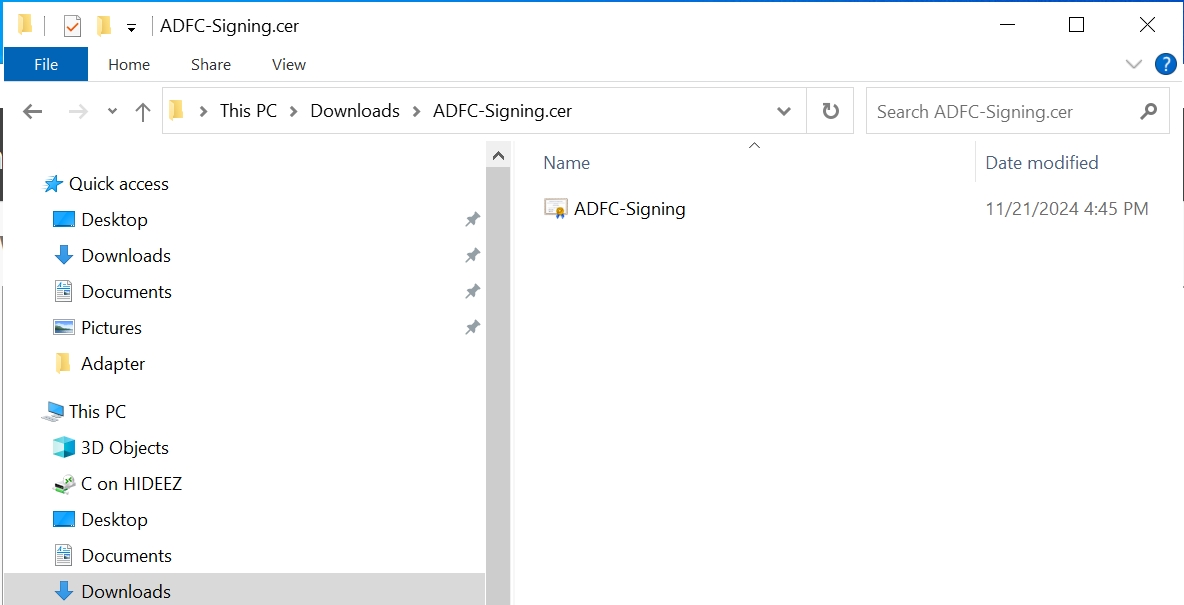
5. Go through the Certificate Export Wizard to export the certificate:
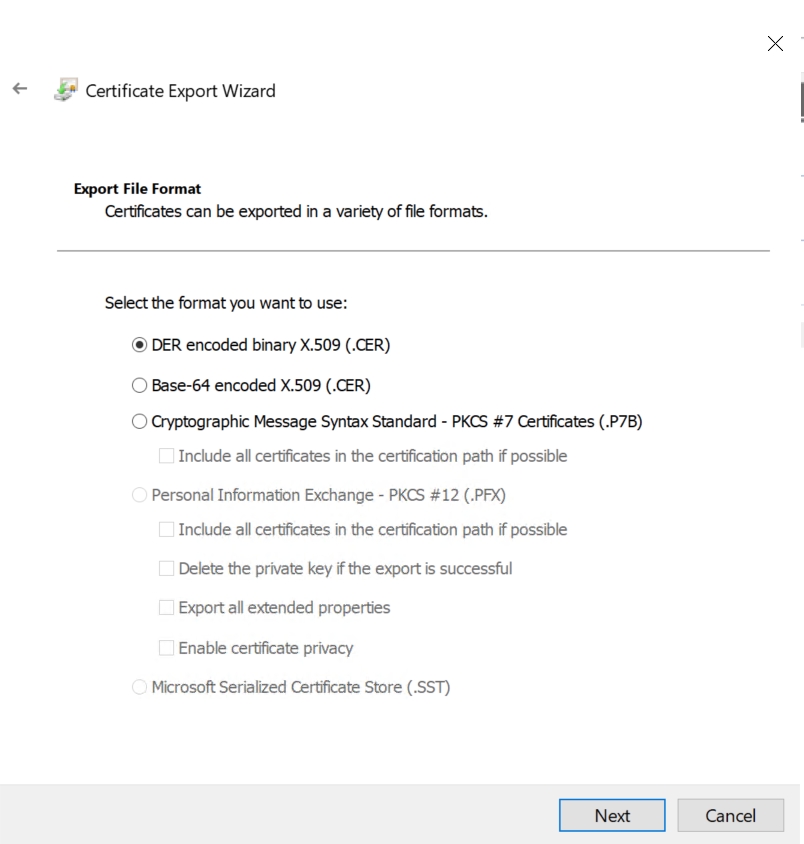
Select DER encoded X.509 (.CER) format and proceed with the export:
Step 2: Create a relying party trust and custom claim rules in AD FS for OWA (Outlook on the web)
With the AD FS prerequisites configured, proceed to create the relying party trust for OWA (Outlook on the web) on the AD FS server by launching the AD FS Management console:
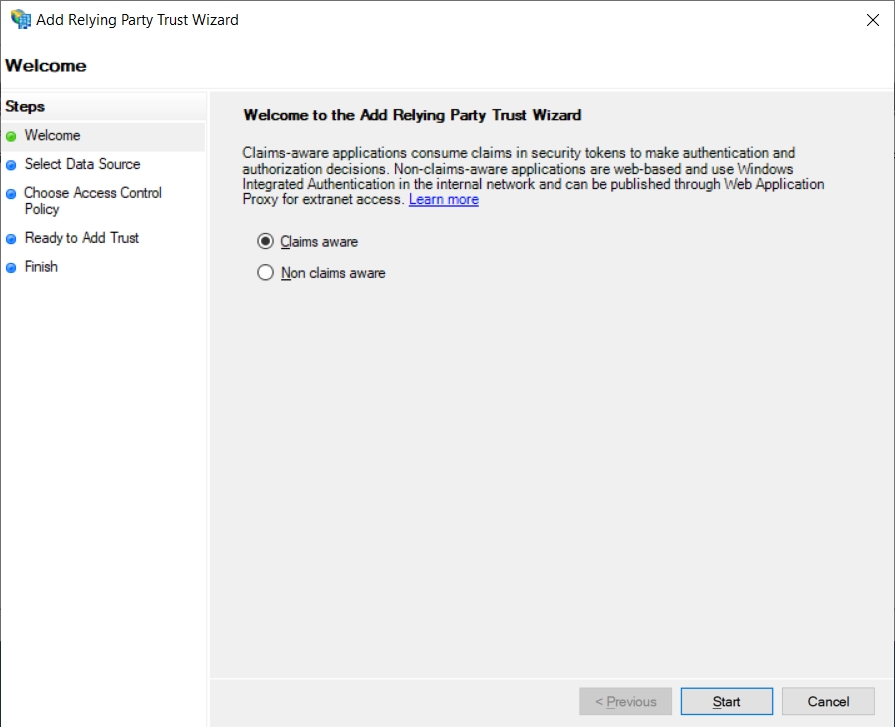
Navigate to AD FS → Relying Party Trusts and click on Add Relying Party Trusts…:
Select Claims aware and click on Start:
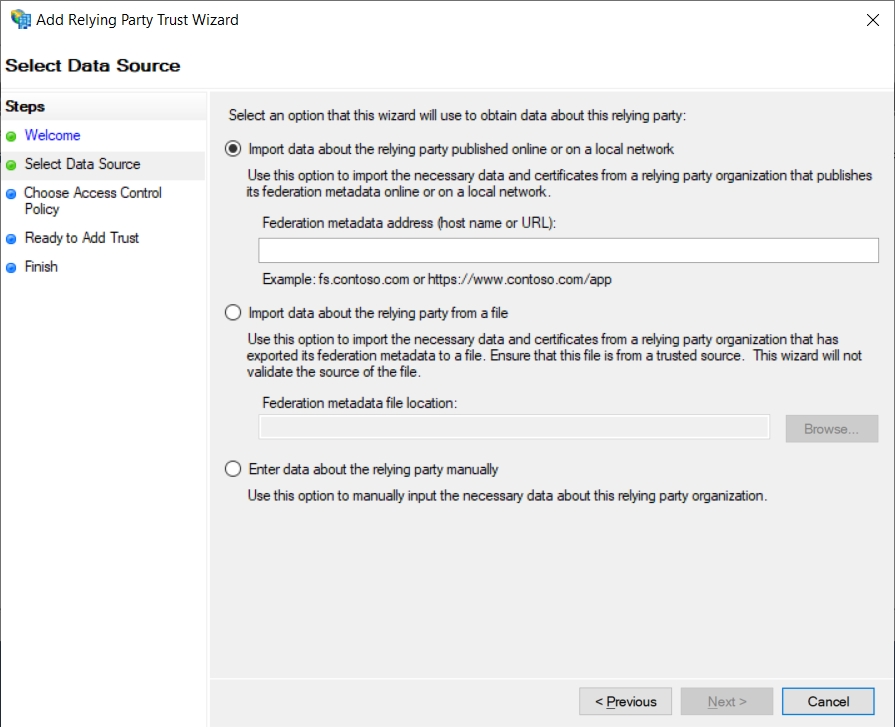
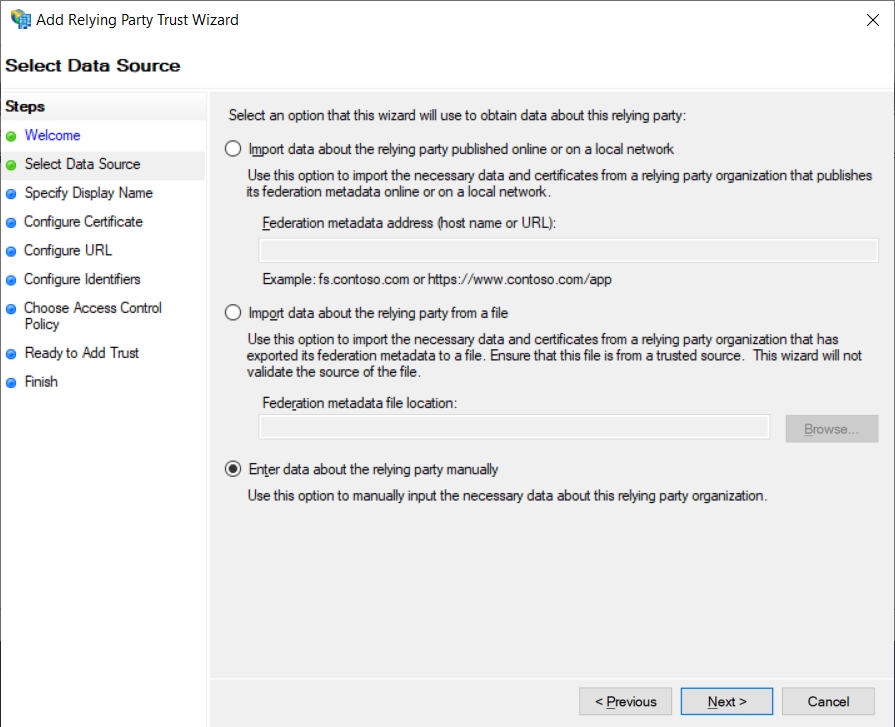
Change the default Import data about the relying party published online or on a local network to Enter data about the relying party manually:
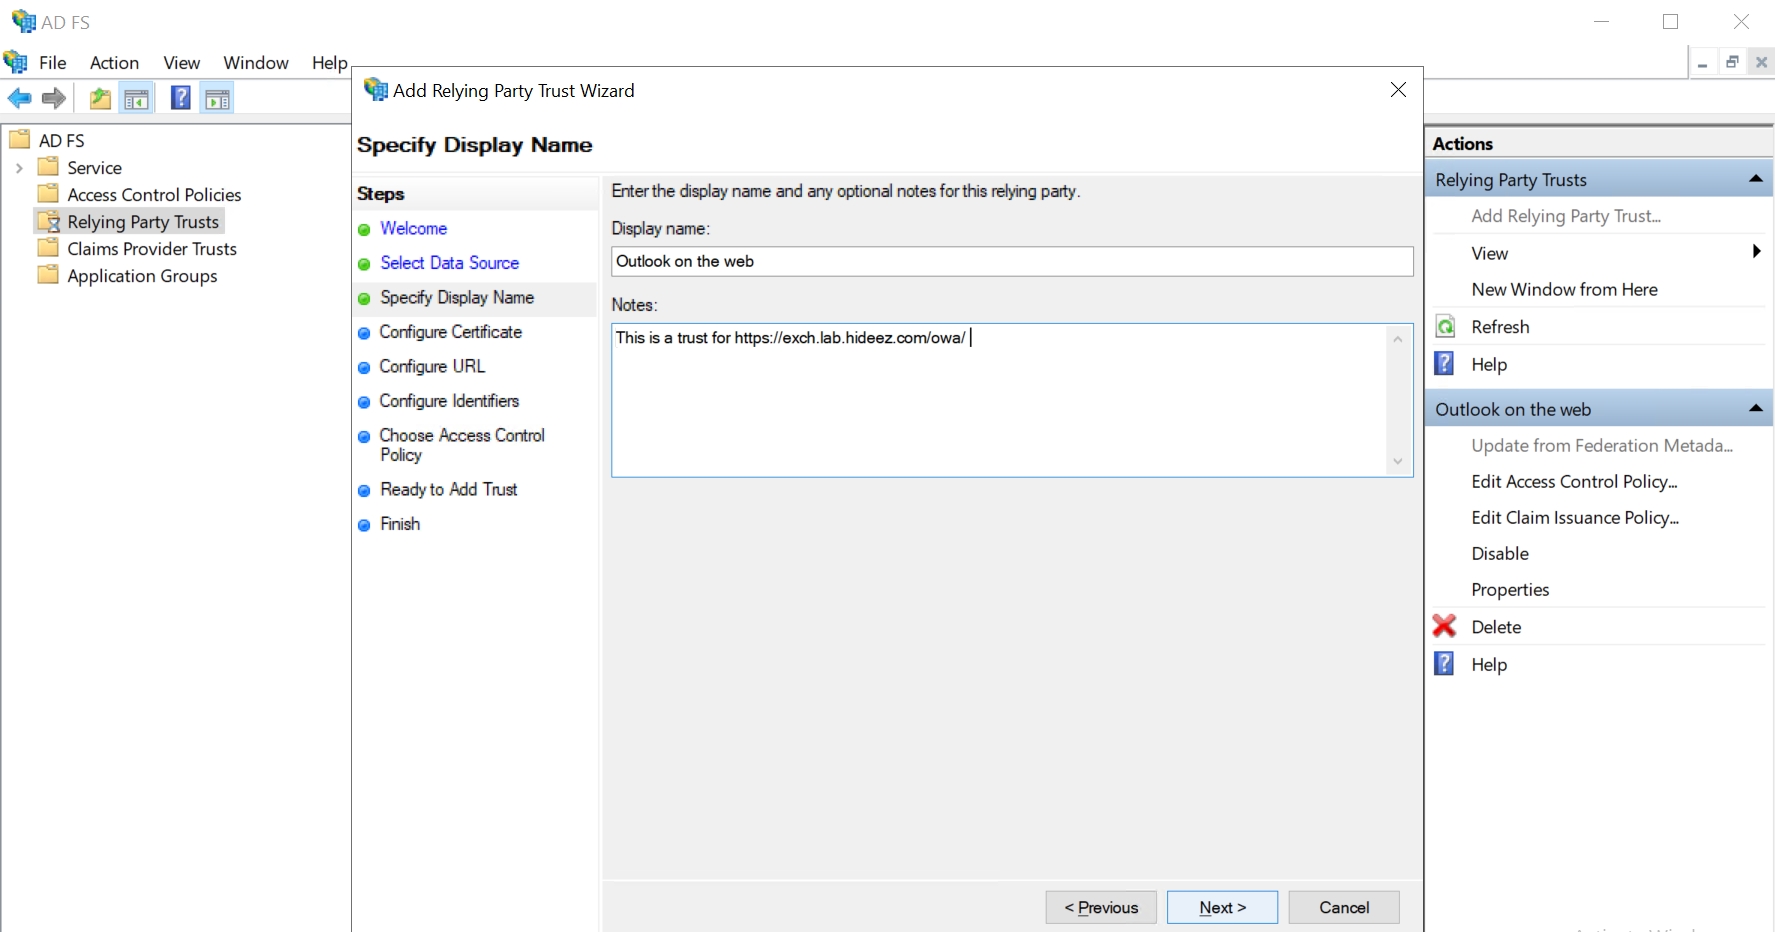
Enter the Display name and Notes for Outlook on the web-relying party:
Outlook on the web
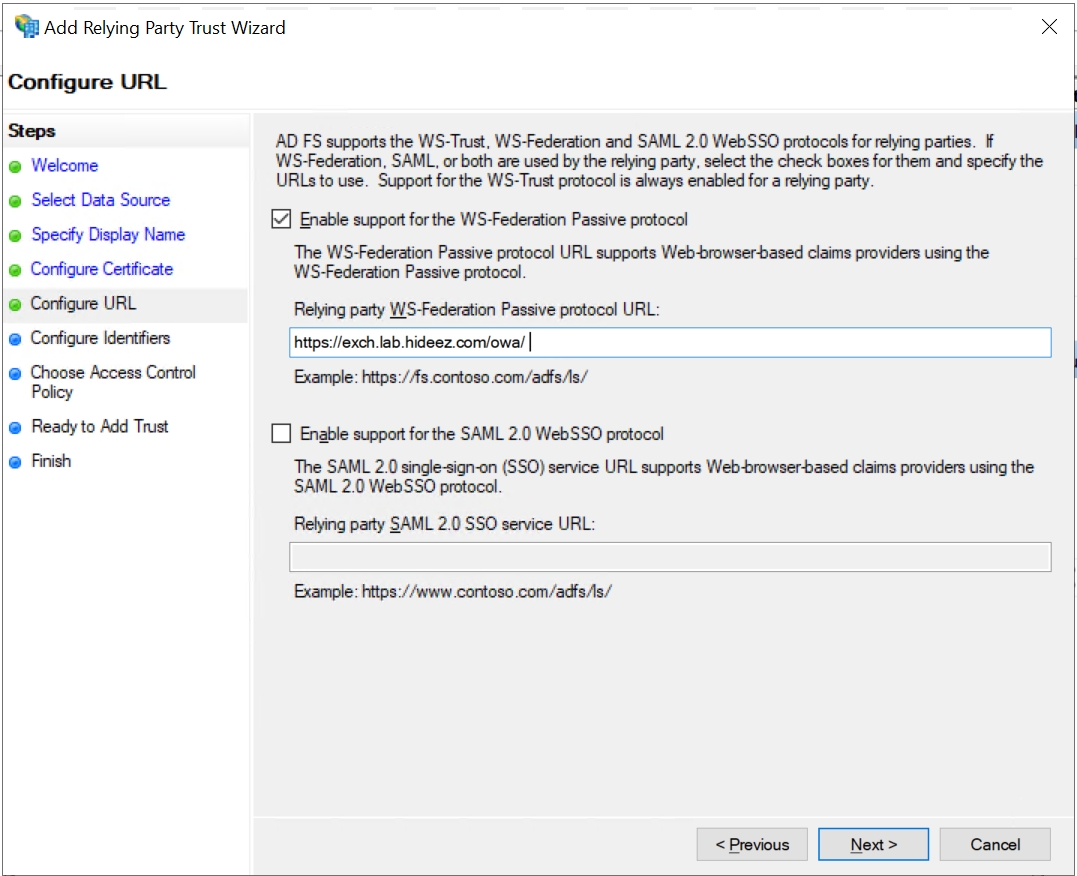
This is a trust for https://exch.lab.hideez.com/owa/
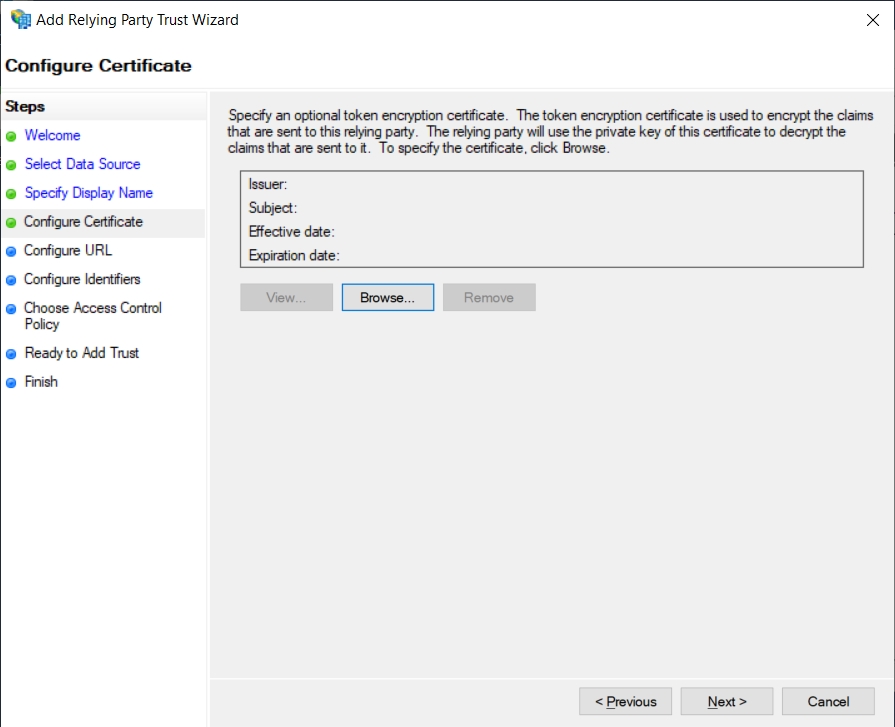
Leave the Configure Certificate window as unconfigured and click on Next:
Check the Enable support for the WS-Federation Passive protocol checkbox and Enter the URL of the Outlook on the web address (e.g. https://exch.lab.hideez.com/owa/):
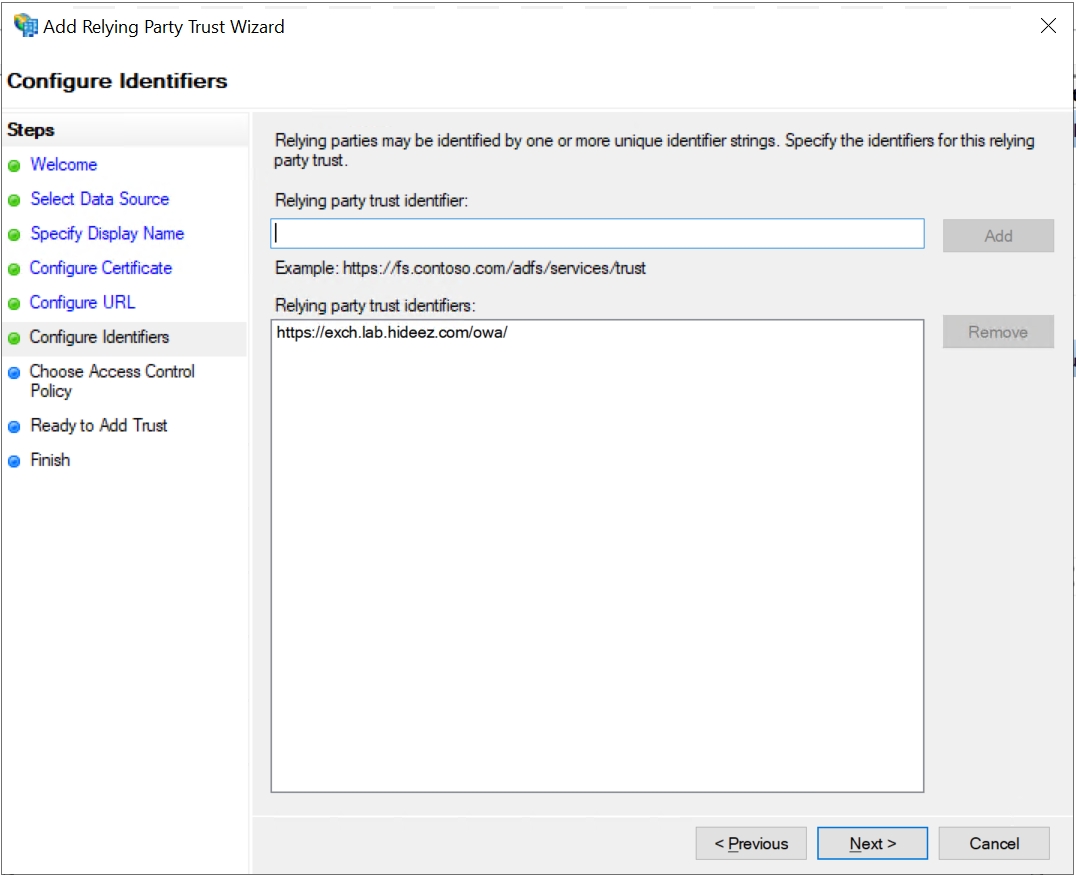
Add the URL of the Outlook on the web address for the Relying party trust identifier:
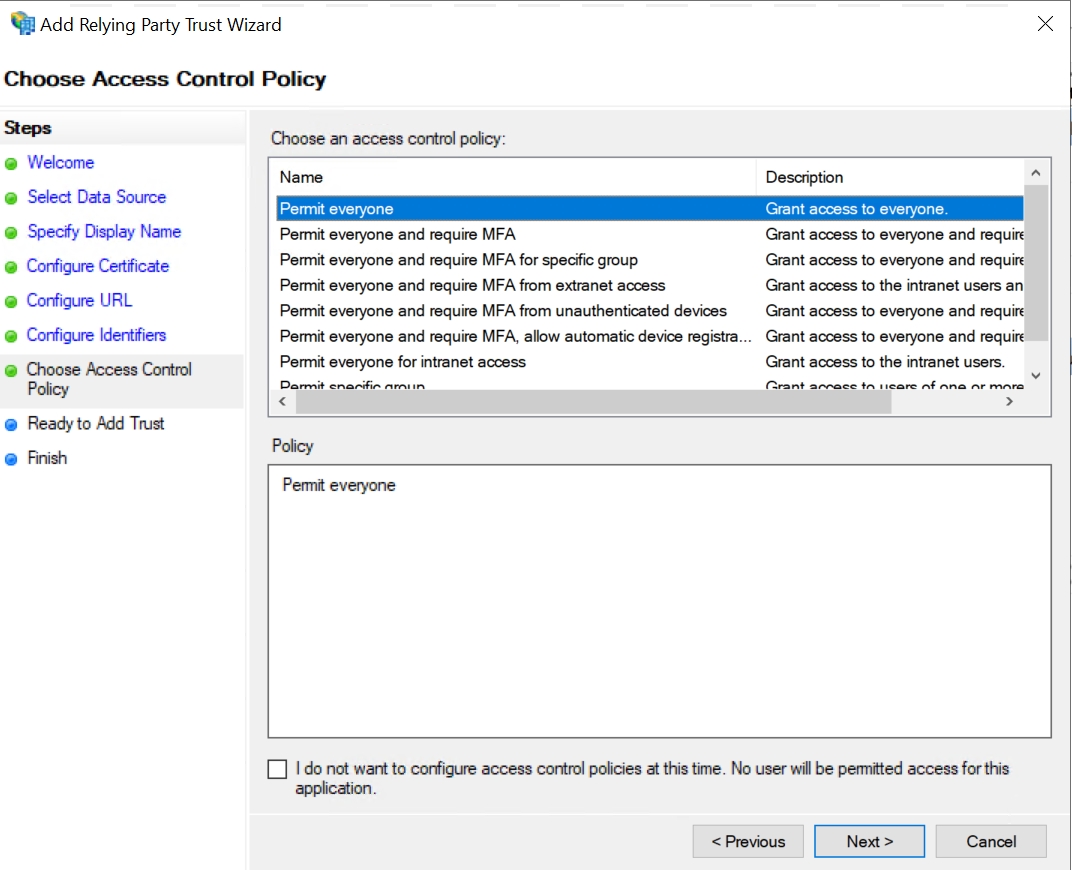
Select Permit everyone:
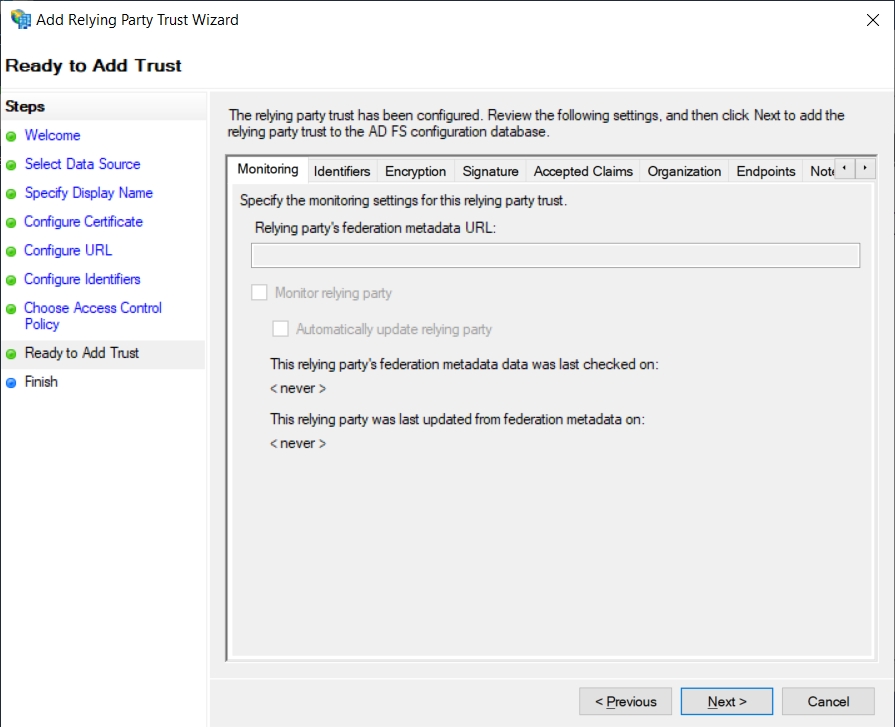
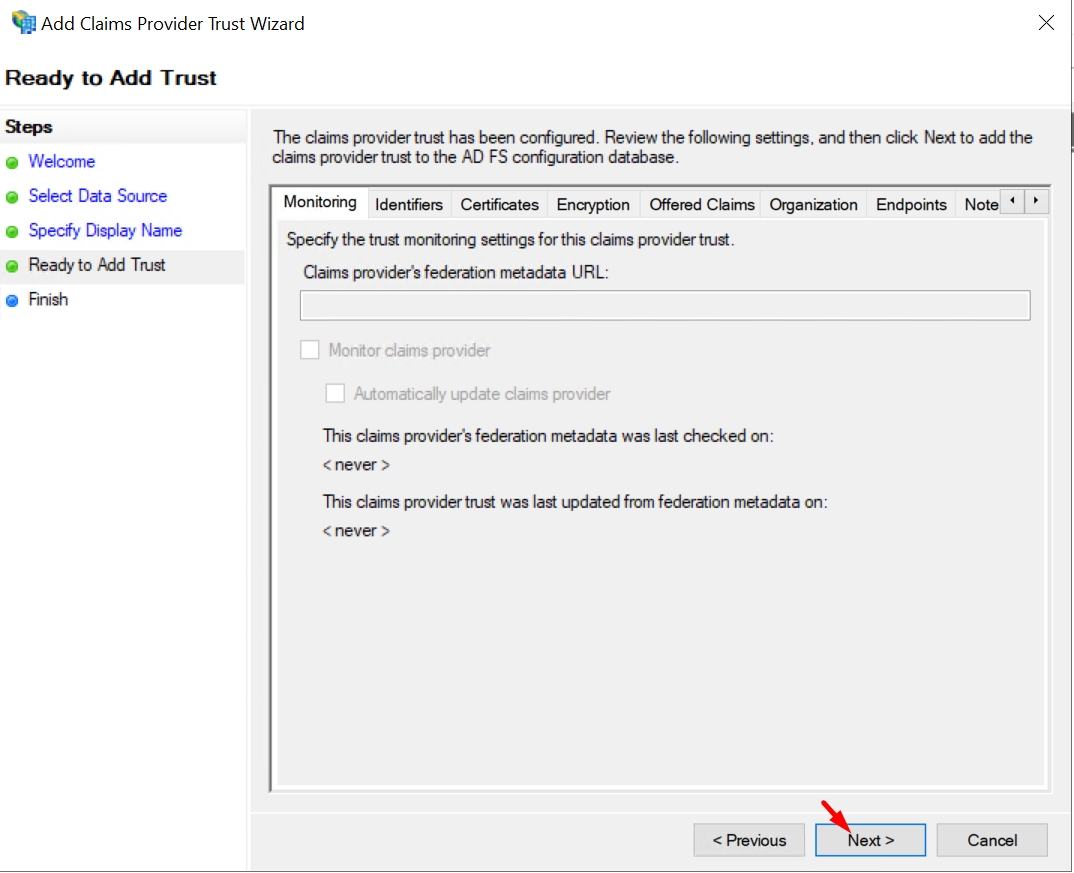
On the Ready to Add Trust page, review the settings, and then click Next to save the relying party trust information:
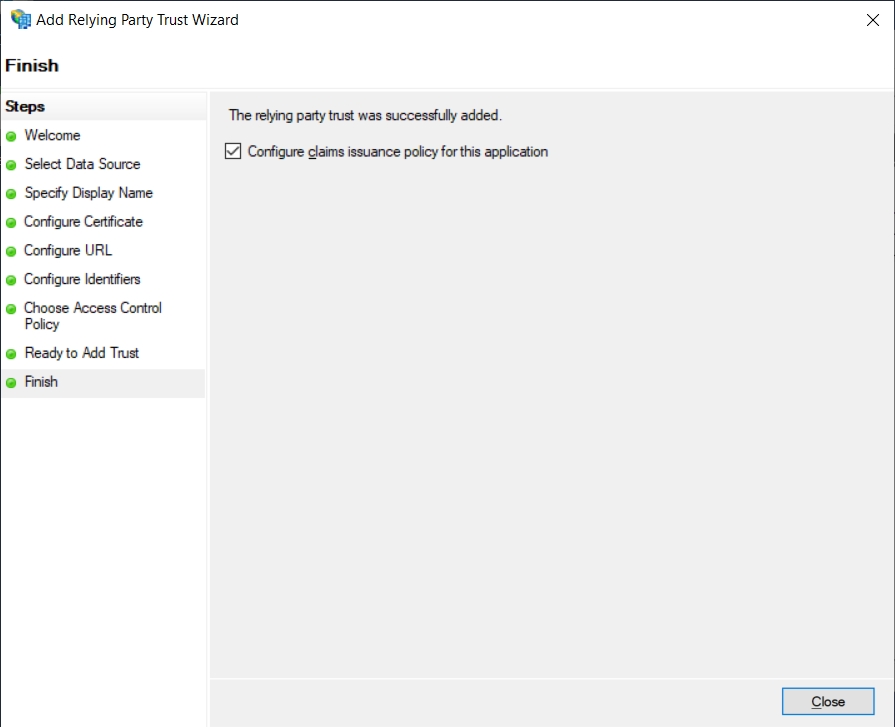
Leave the Configure claims issuance policy for this application checked and click Close:
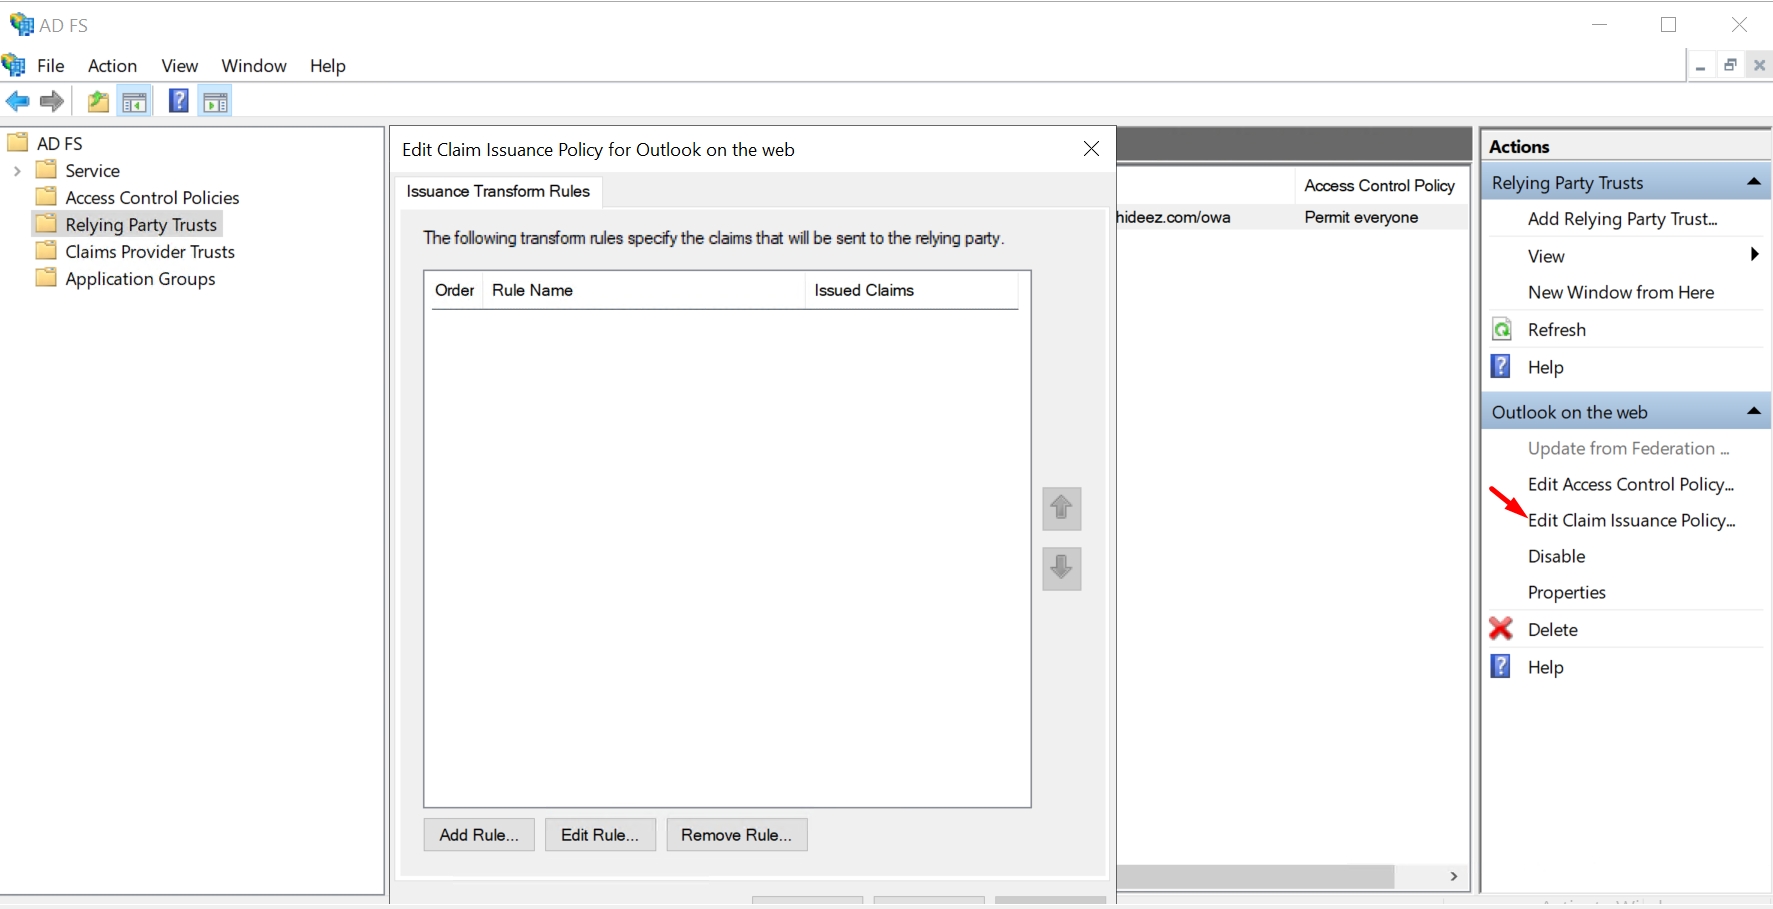
Step 3: Create Claim Rules in AD FS
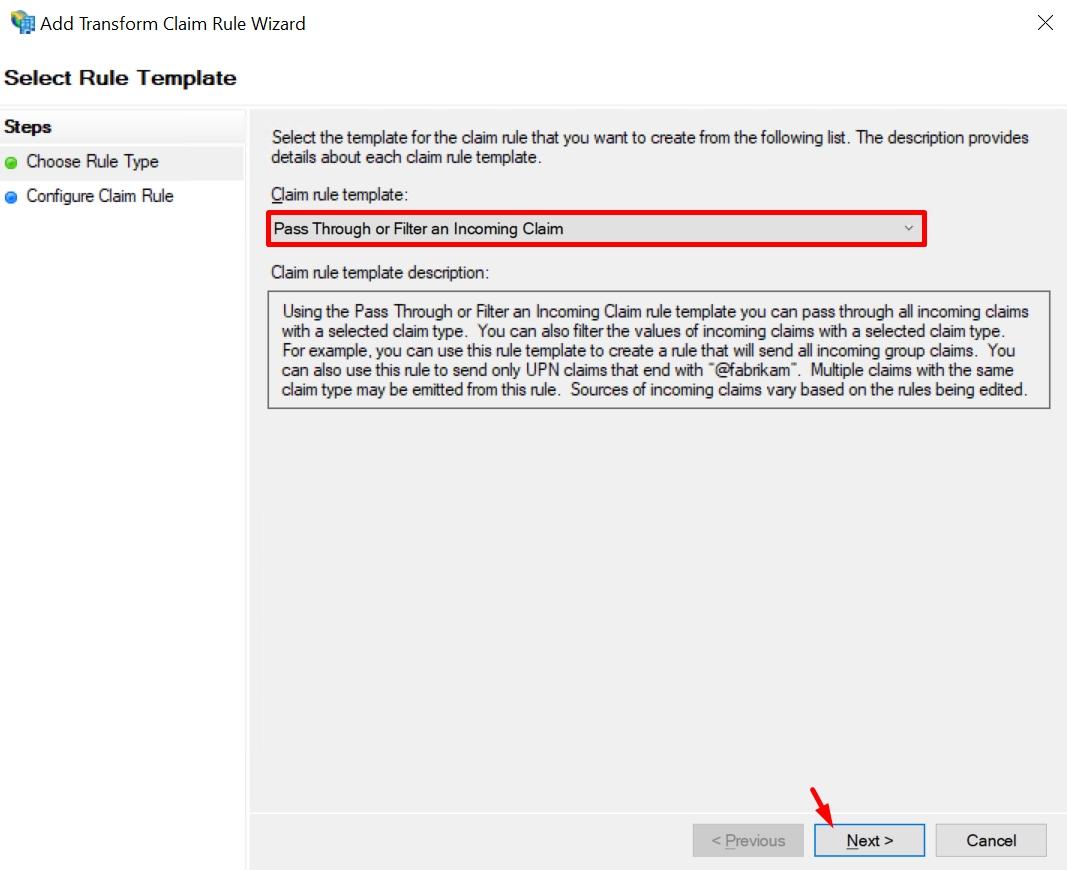
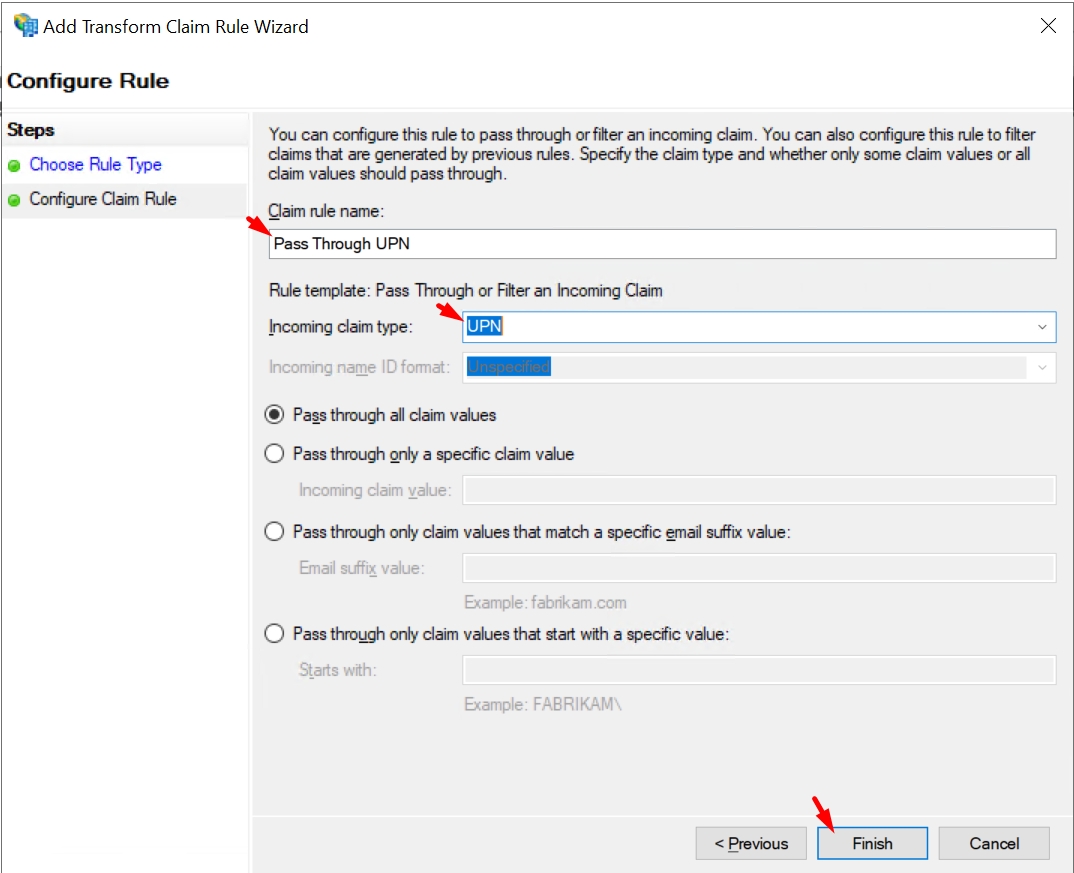
In the Edit Claim Issuance Policy for Outlook on the web window, click on Add Rule…
Change the Pass Through or Filter an Incoming Claim and then click Next.
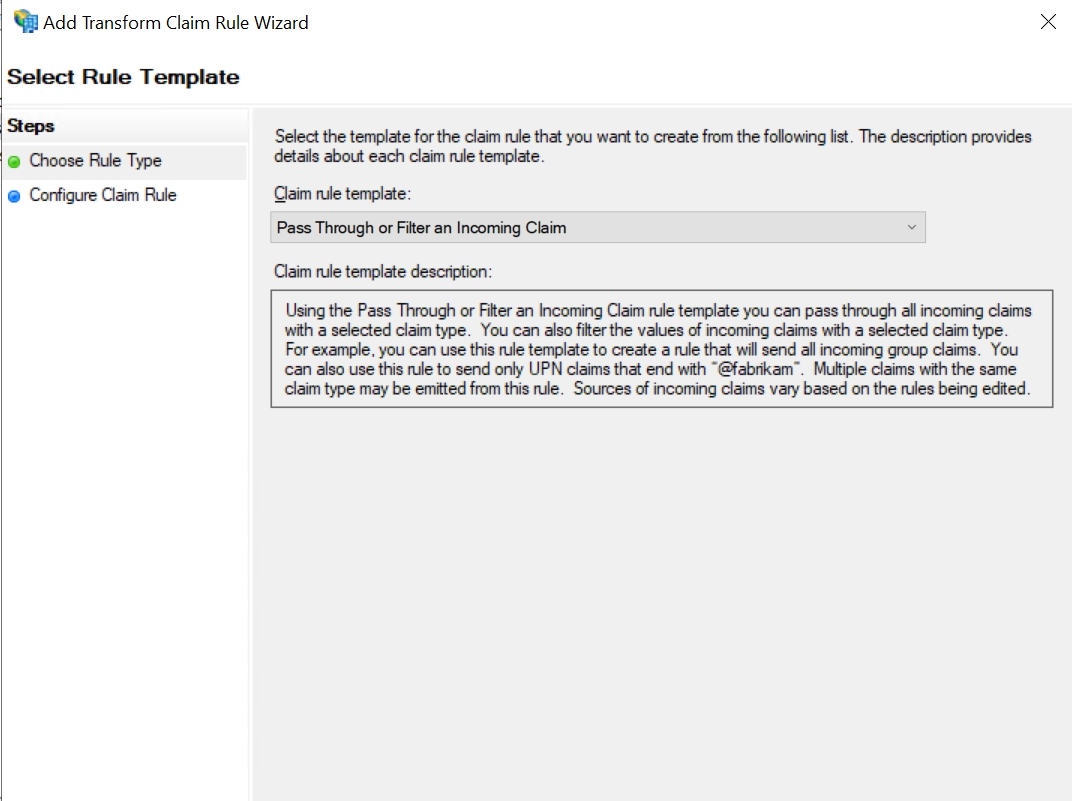
Enter the following configuration for the parameters:
Claim Rule Name: Pass Through UPN
Incoming Claim Type: UPN
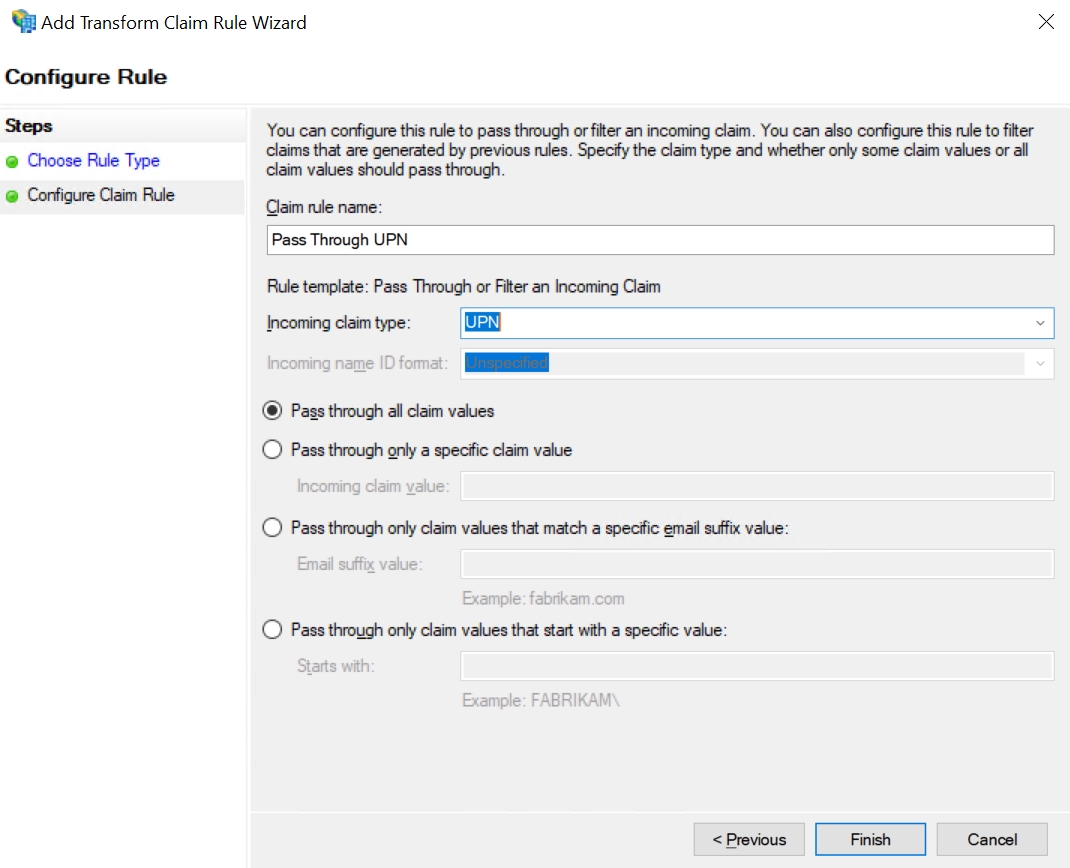
Click Finish.
Click OK to close the window
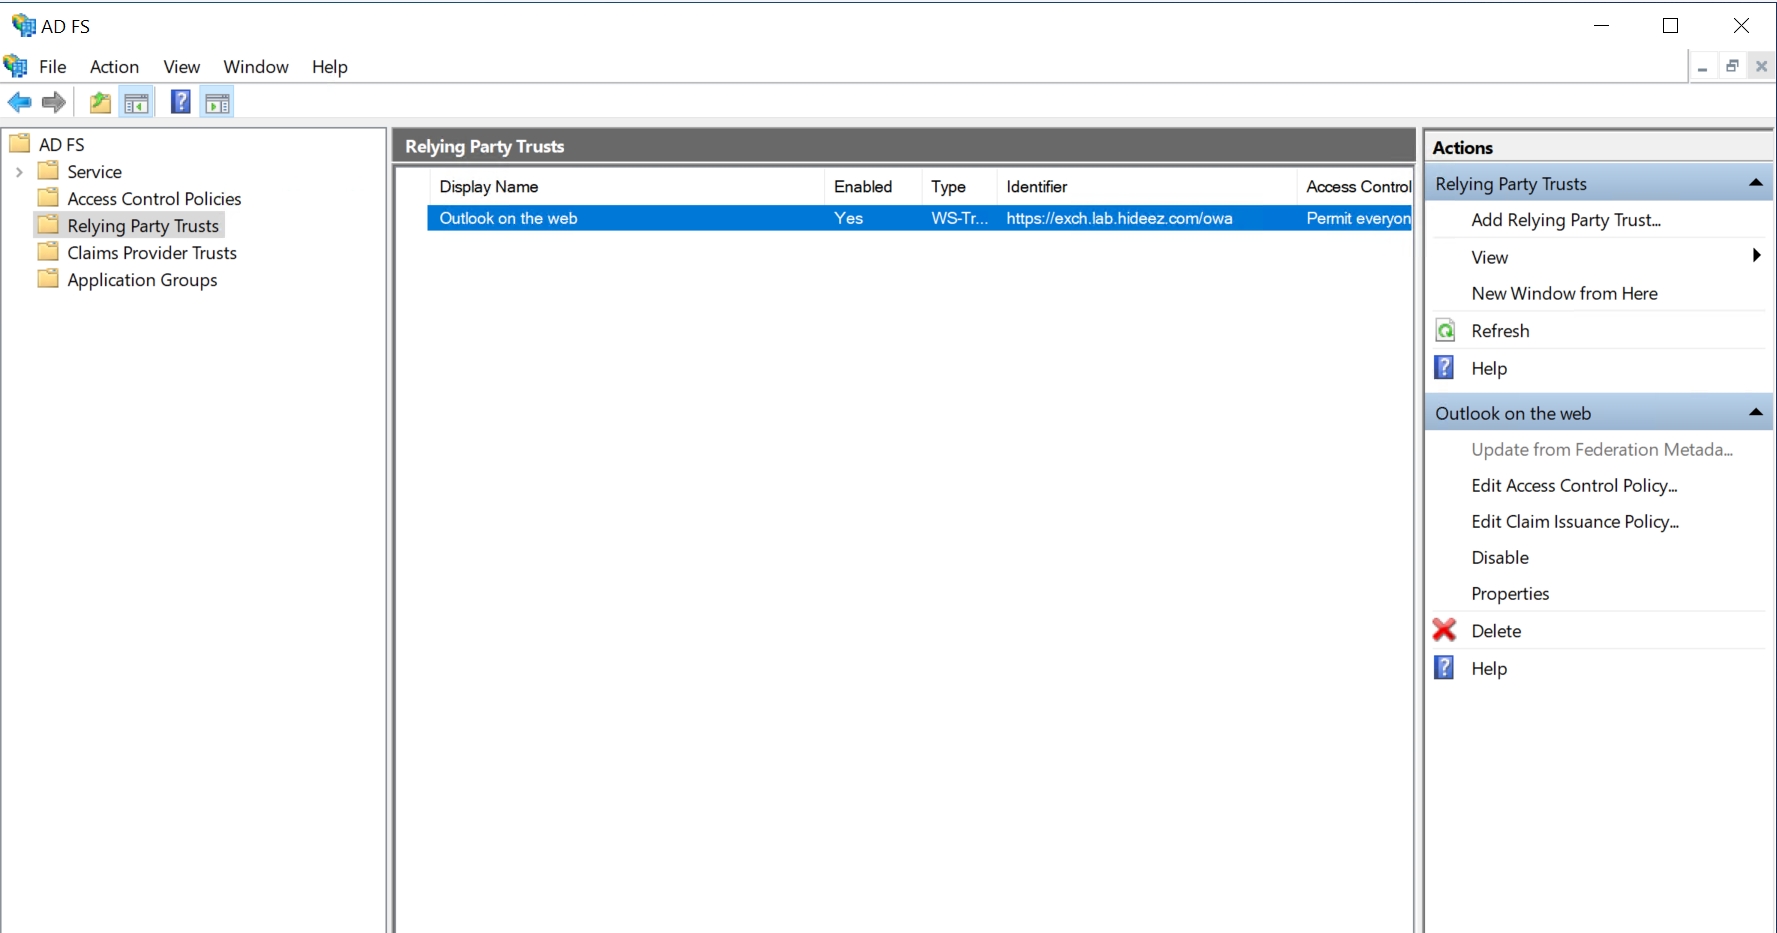
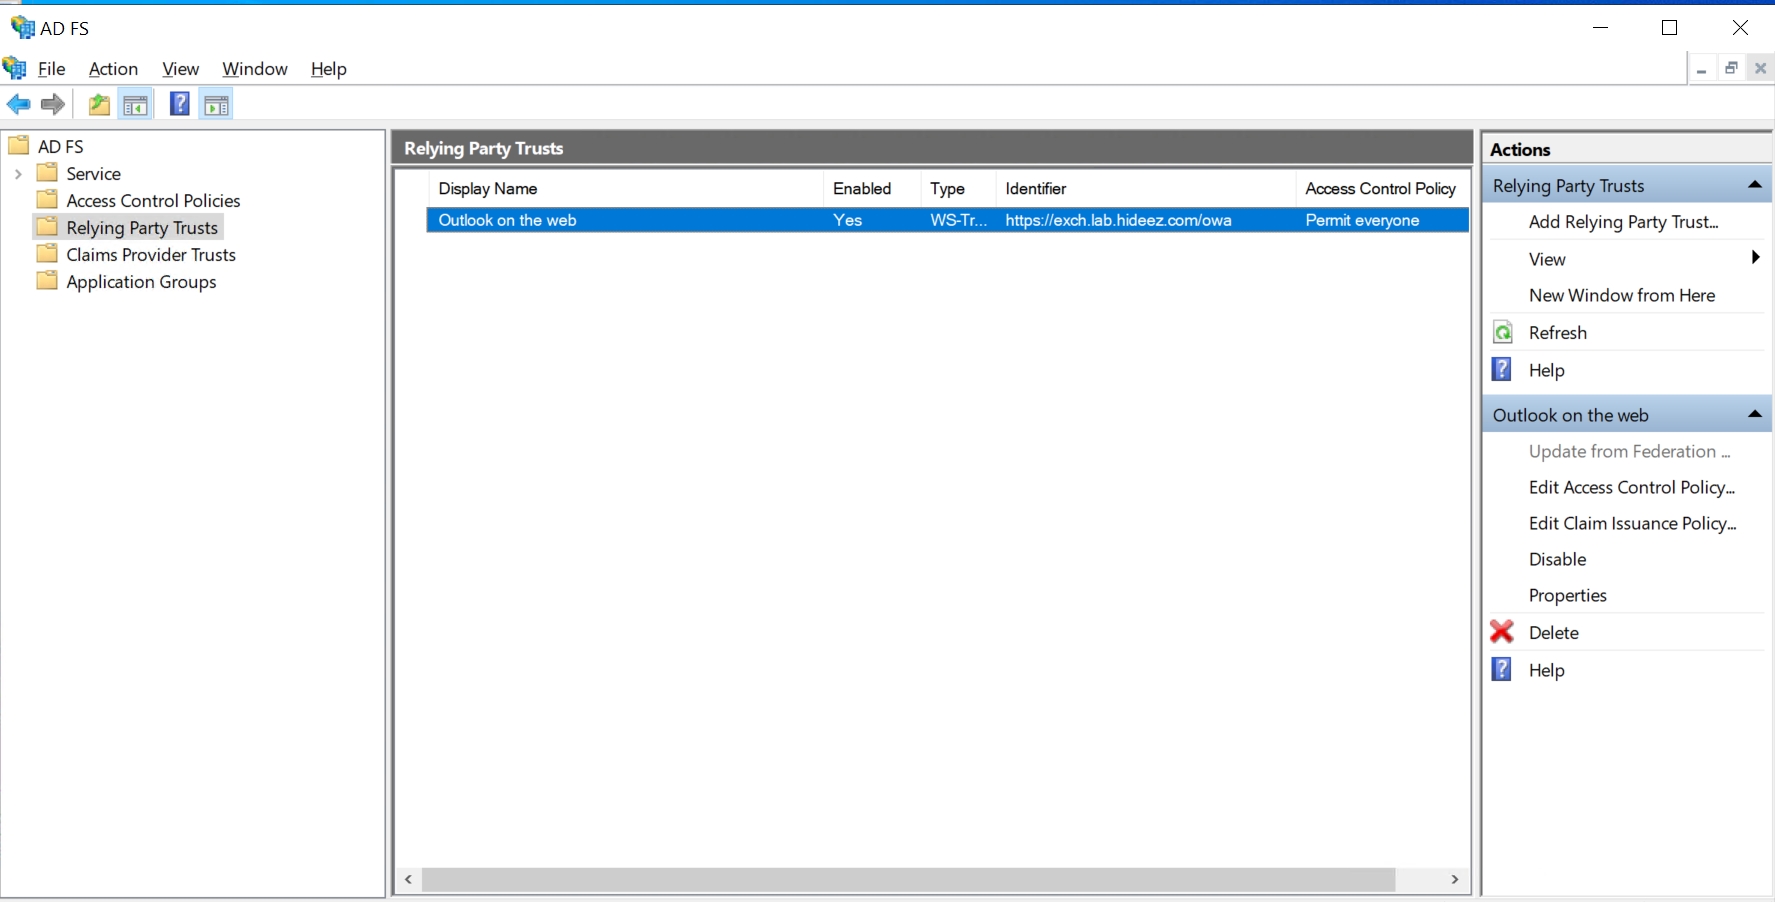
You should see the new Outlook on the web Relying Party Trust created:
Step 4 (Optional): Publish OWA via AD FS Web Application Proxy
Use the AD FS Web Application Proxy to securely expose OWA for external access.
Step 5 (Optional): Create Relying Party Trust for EAC
Repeat the steps for setting up a Relying Party Trust for the Exchange Admin Center (EAC).
Step 6 (Optional): Publish EAC via AD FS Web Application Proxy
Configure the Web Application Proxy for the Exchange Admin Center (EAC).
Step 7: Configure Exchange Organization to Use AD FS Authentication
To configure the Exchange organization to authenticate with AD FS, you must use the Exchange Management Shell. For guidance on opening the Exchange Management Shell in an on-premises Exchange organization, refer to Open the Exchange Management Shell.
Use the following cmdlet to configure the Exchange organization to authenticate with AD FS:
Example:
This example uses the following values:
AD FS URL:
https://adfs.lab.hideez.com/adfs/ls/Outlook on the web URL:
https://exch.lab.hideez.com/owa/EAC URL:
https://exch.lab.hideez.com/ecp/ecp/AD FS token-signing certificate thumbprint: The
ADFS Signing - exch.lab.hideez.comcertificate that has the thumbprint value7D533C61B531D056A0058BB0E2DDE4904E86FB7F
Please refer to the official Microsoft documentation for instructions on how to configure the Exchange organization to use AD FS authentication:
Step 8: Enable AD FS Authentication on Virtual Directories
To use the Exchange Management Shell to configure an EAC or Outlook on the web virtual directory to only accept AD FS authentication, use the following syntax:
Step 9: Restart IIS on Exchange Server
Restart Internet Information Services (IIS) on the Exchange server to apply the configuration changes.
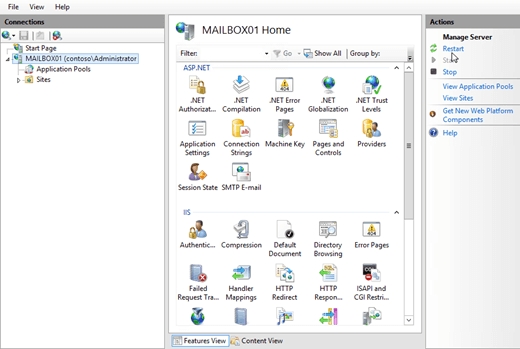
Open IIS Manager on the Exchange server. An easy way to do this in Windows Server 2012 or later is to press Windows key + Q, type inetmgr, and select Internet Information Services (IIS) Manager in the results.
In IIS Manager, select the server.
In the Actions pane, click Restart.
Please refer to the official Microsoft documentation for instructions on how to restart IIS on an Exchange Server:
3. SAML Configuration for AD FS on Hideez Identity Cloud
Download metadata from AD FS:
https://<your_adfs_address>/FederationMetadata/2007-06/FederationMetadata.xml
Example of URL:
https://adfs.lab.hideez.com/FederationMetadata/2007-06/FederationMetadata.xml
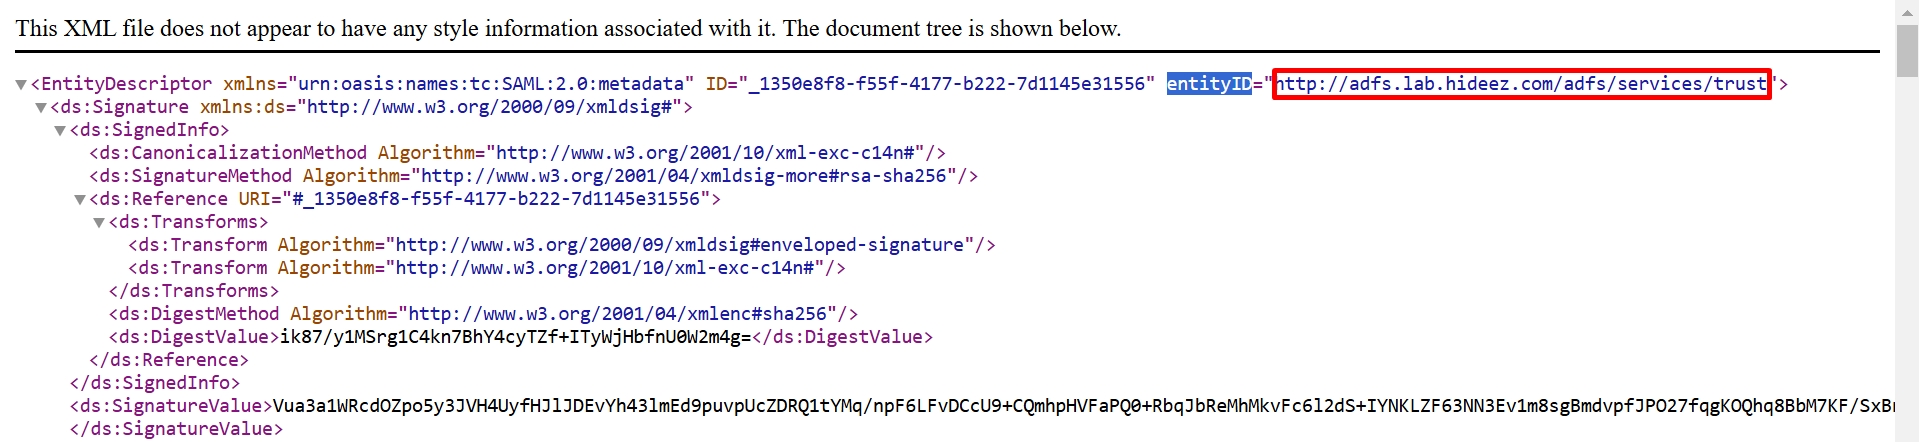
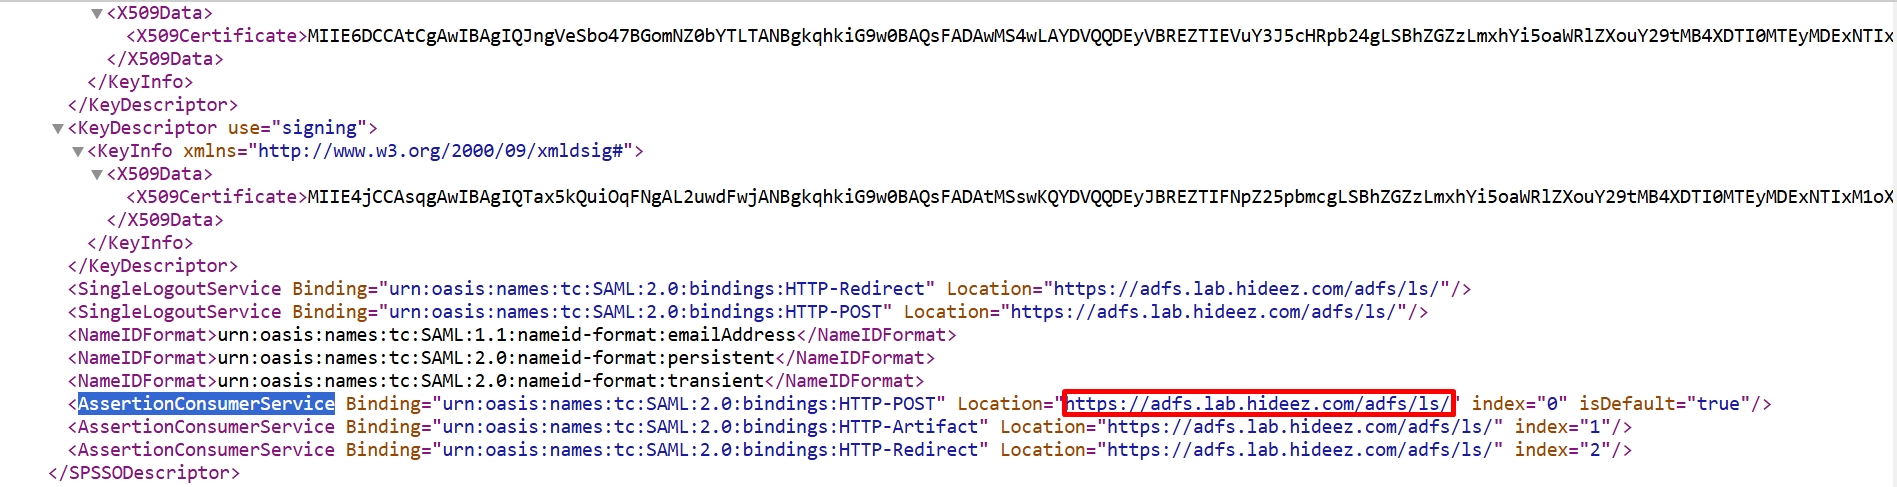
Find in the
FederationMetadata.xmlthe following information:
entityID
AssertionConsumerService
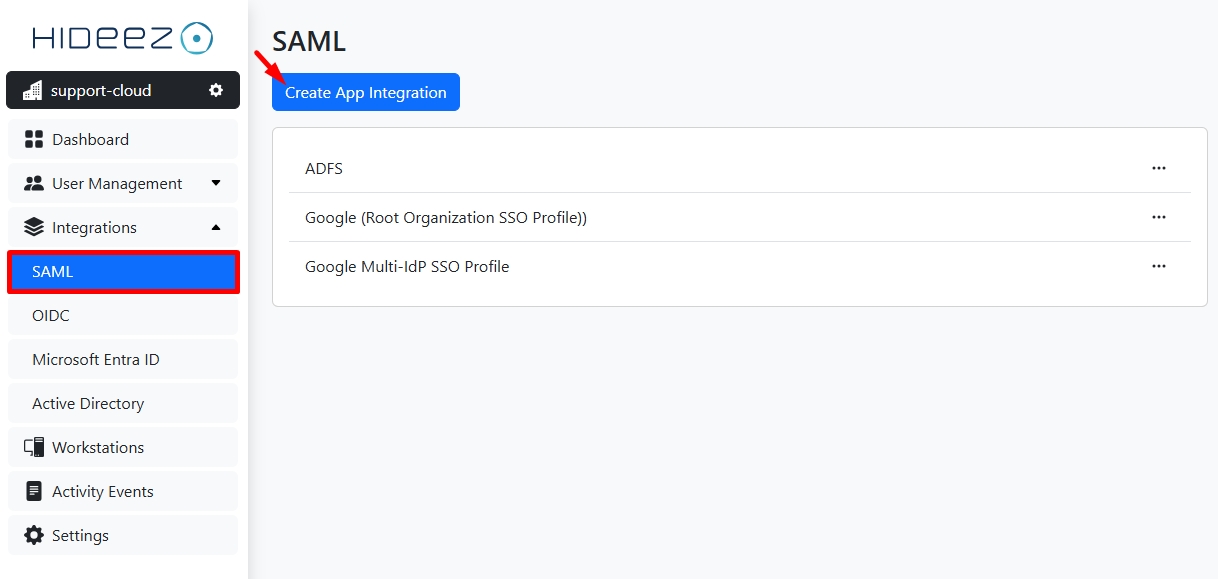
Identify the required fields on the Hideez Identity Cloud and save them:
On the Hideez Identity Cloud, click Integration→SAML→Create App Integration.
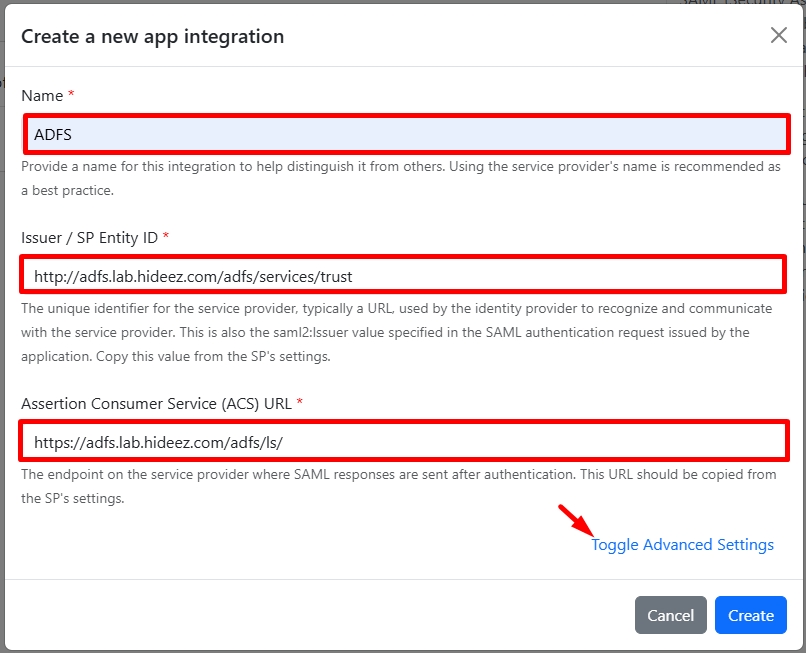
Name:
ADFSEntity ID:
http://<AssertionConsumerService>/adfs/services/trustAssertion Consumer Service URL:
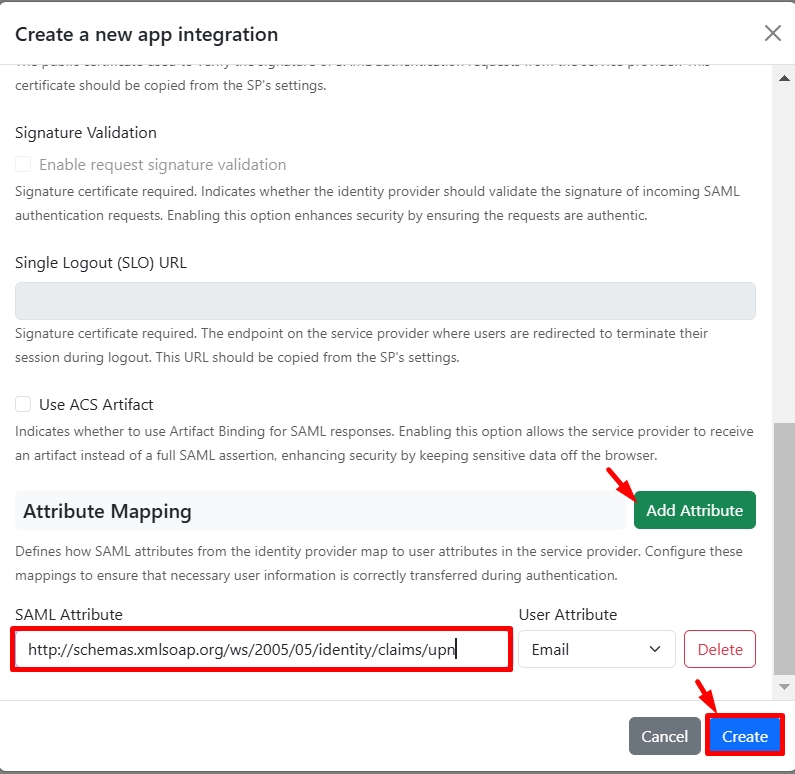
https://<AssertionConsumerService>/adfs/ls/Map the attributes:
http://schemas.xmlsoap.org/ws/2005/05/identity/claims/upnUser Attribute:
Email
Example:
Name:
ADFSIssuer / SP Entity ID:
http://adfs.lab.hideez.com/adfs/services/trustAssertion Consumer Service:
https://adfs.lab.hideez.com/adfs/ls/Map the attributes:
http://schemas.xmlsoap.org/ws/2005/05/identity/claims/upnUser Attribute:
Email
4. Configure AD FS in Service Provider (SP) Mode
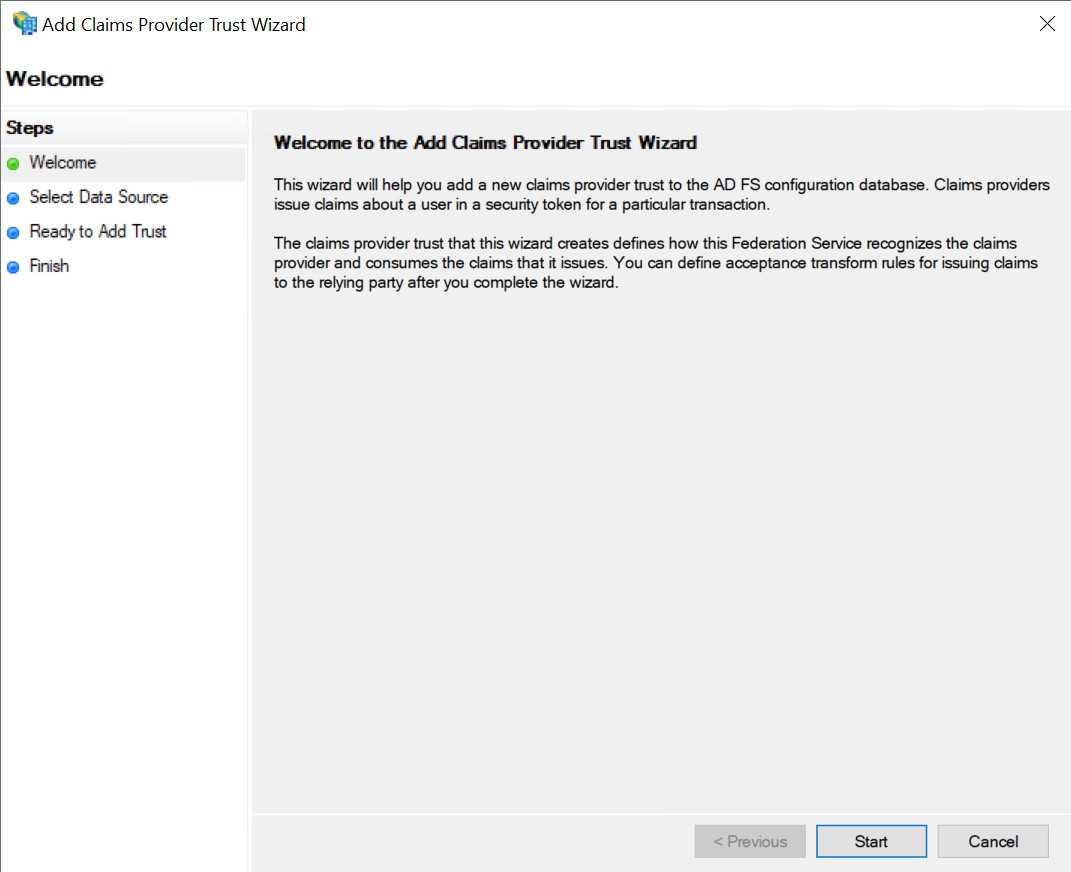
Configure AD FS in SP Mode:
Add Hideez Cloud as IdP:
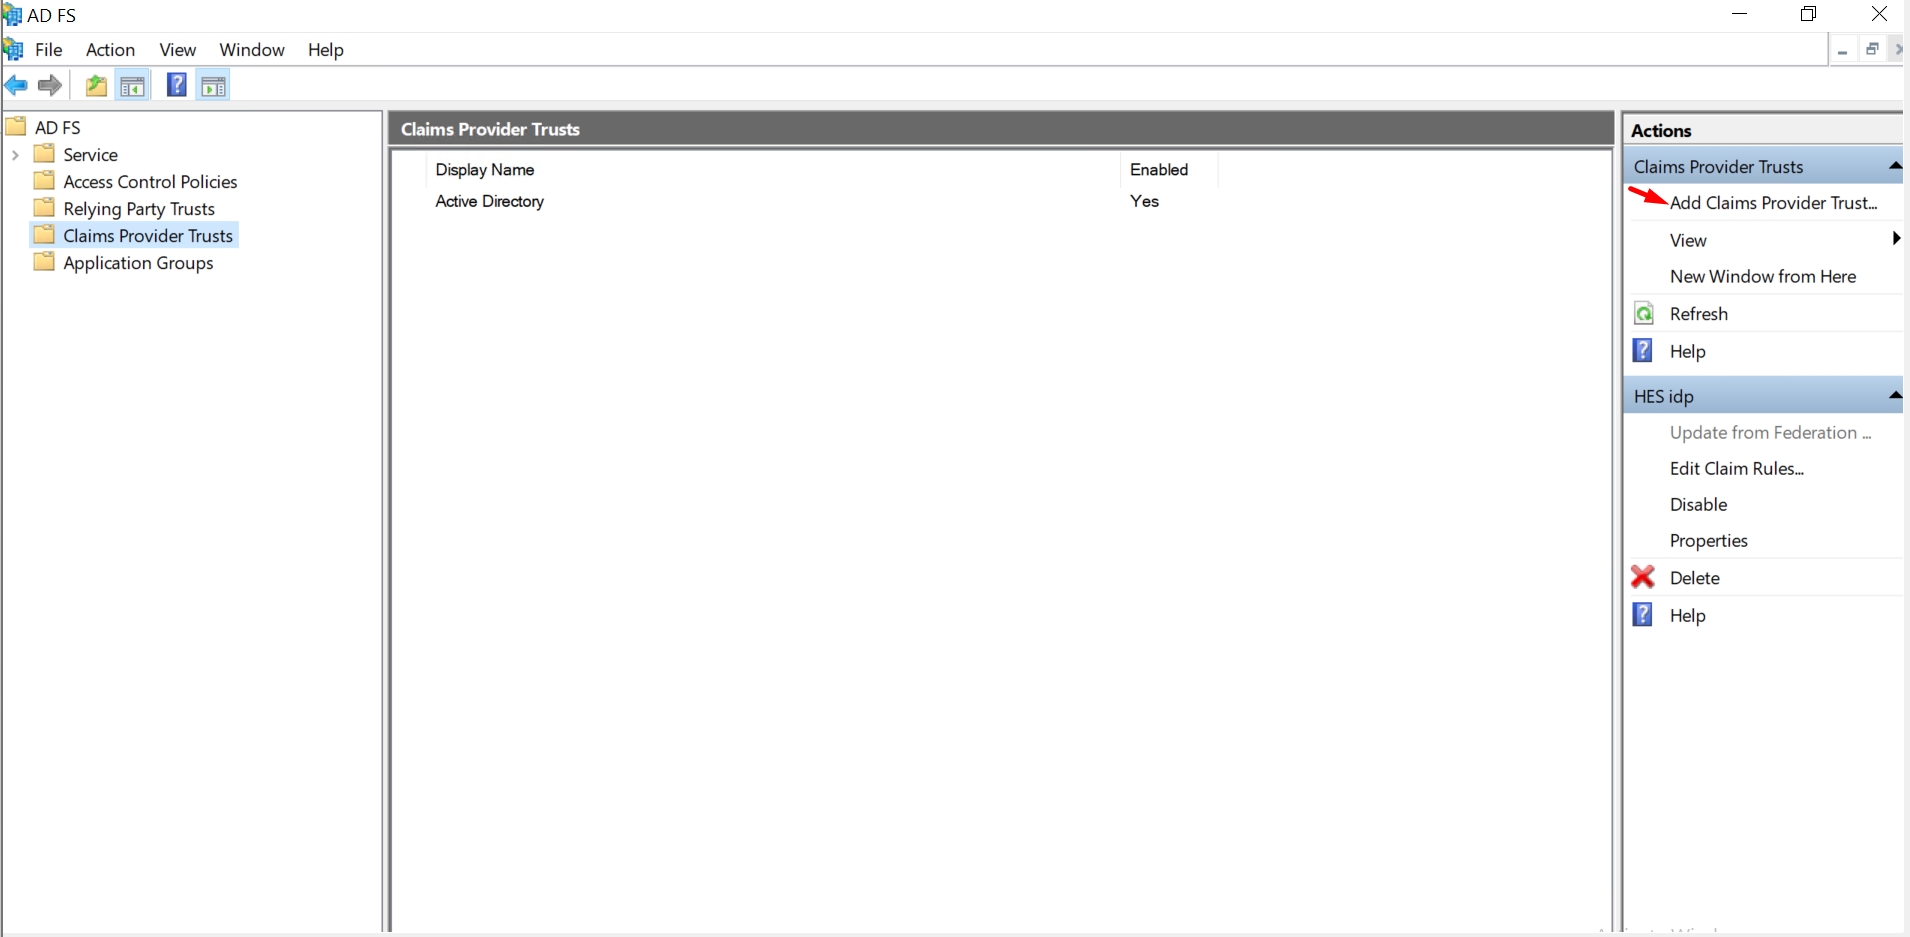
Open the AD FS Management Console.
Navigate to Claims Provider Trusts → Add Claims Provider Trust.
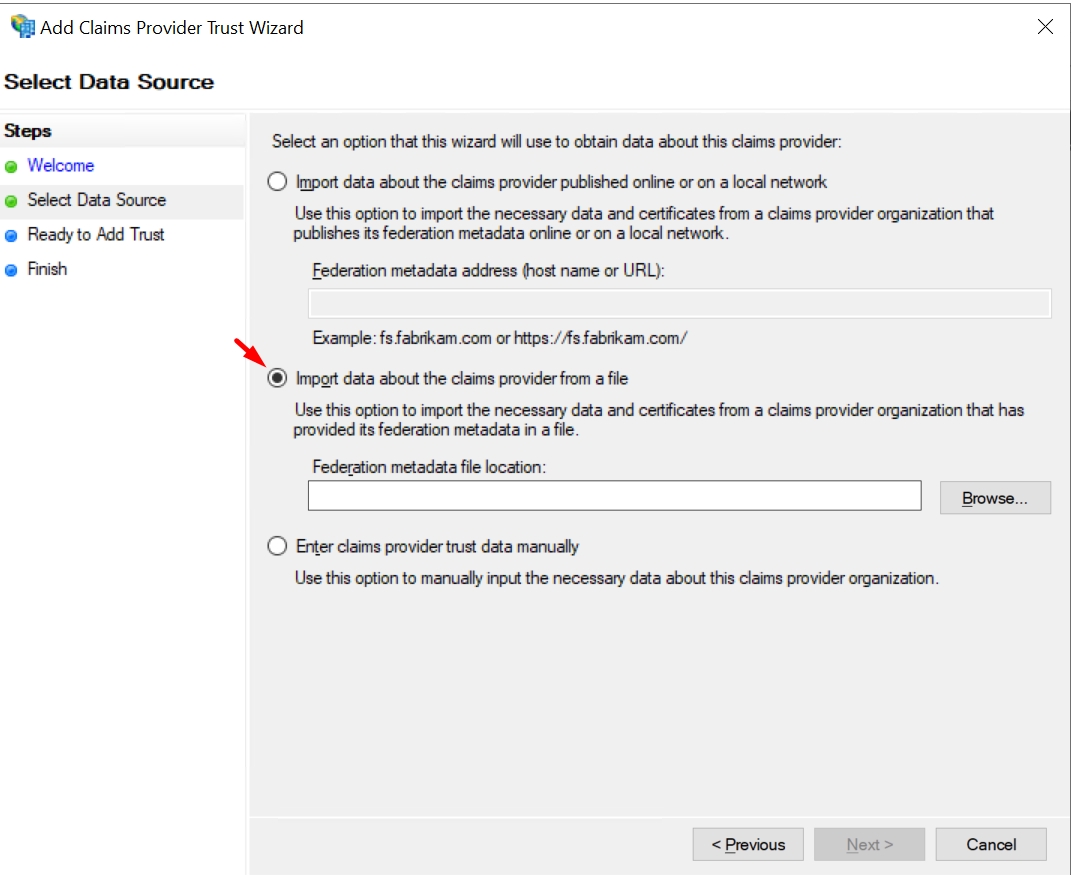
Download the metadata XML file from Hideez Identity Cloud.


Upload the metadata XML file from Hideez Cloud.
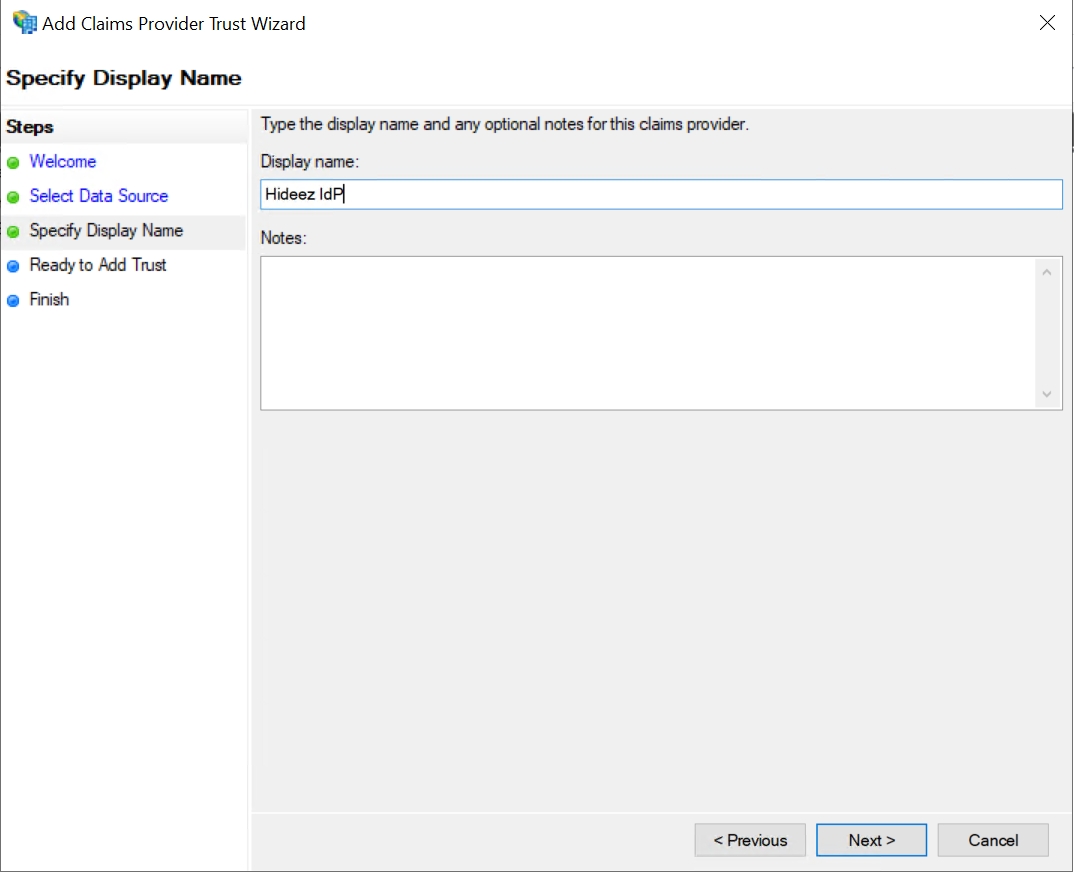
Assign a name to the Identity Provider (IdP), such as "Hideez IdP," then click Next, and finally, click Finish.
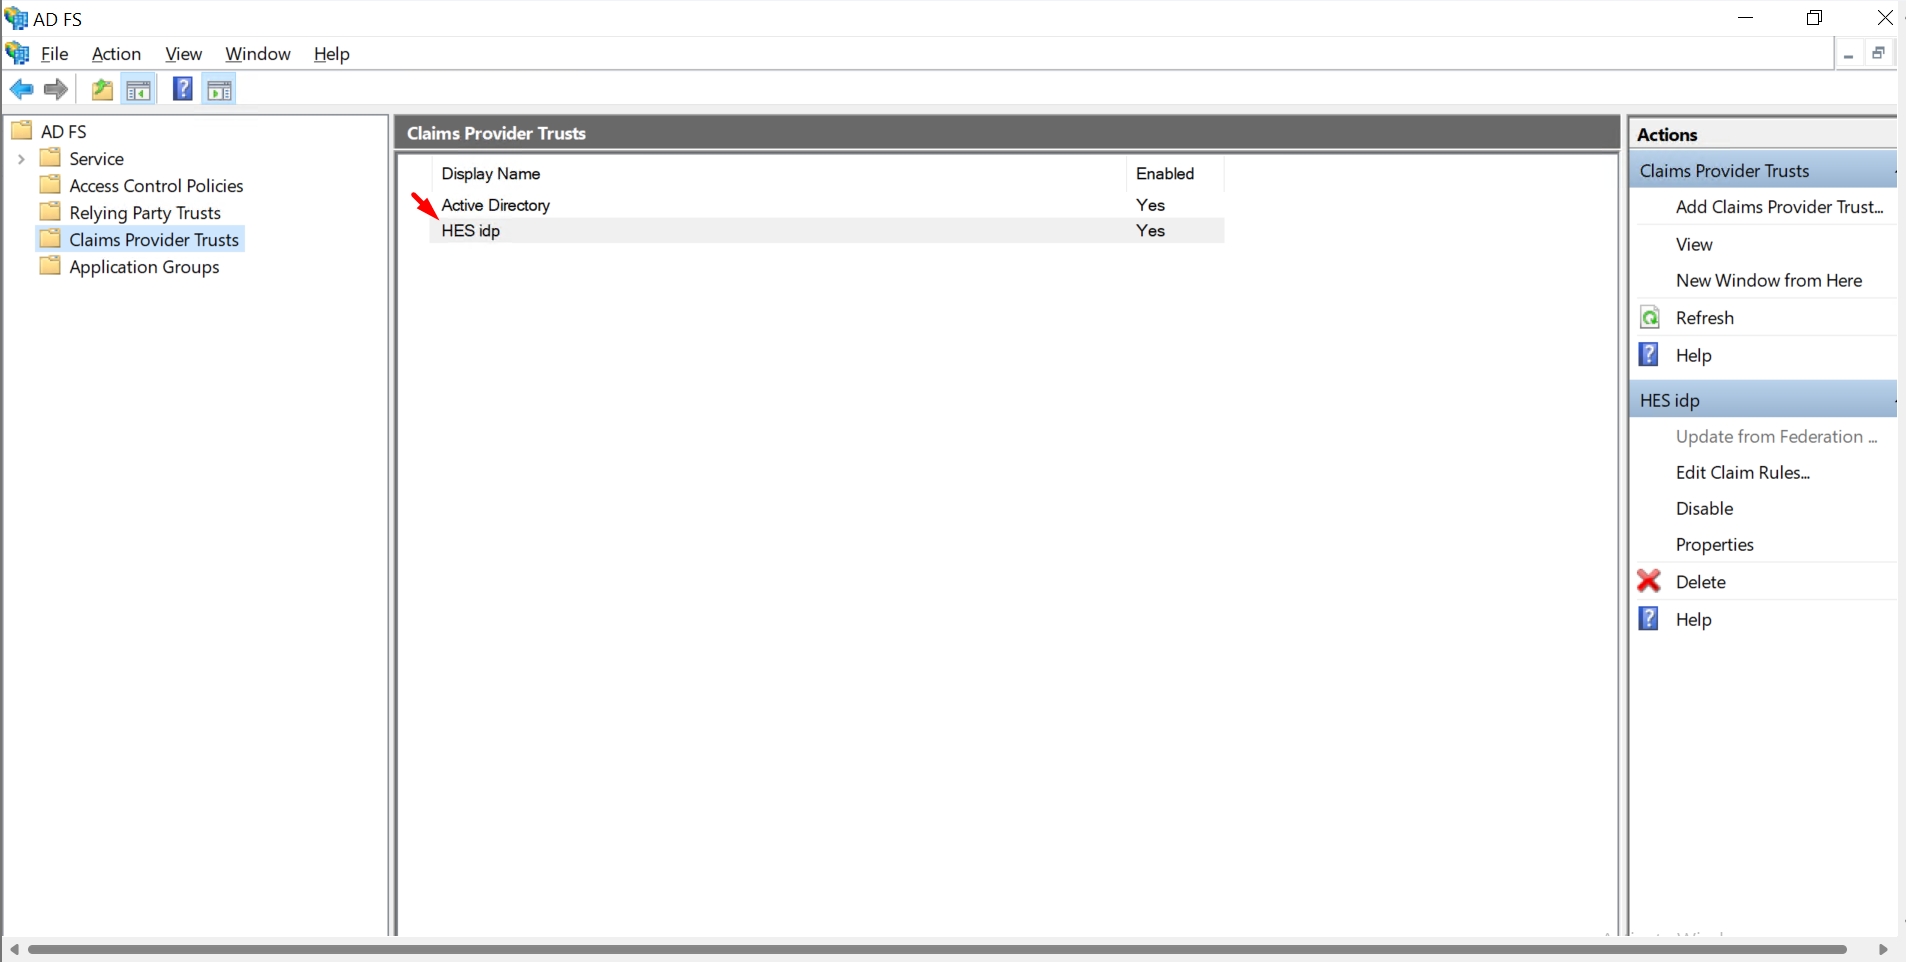
You will see newly created Claims Provider Trusts
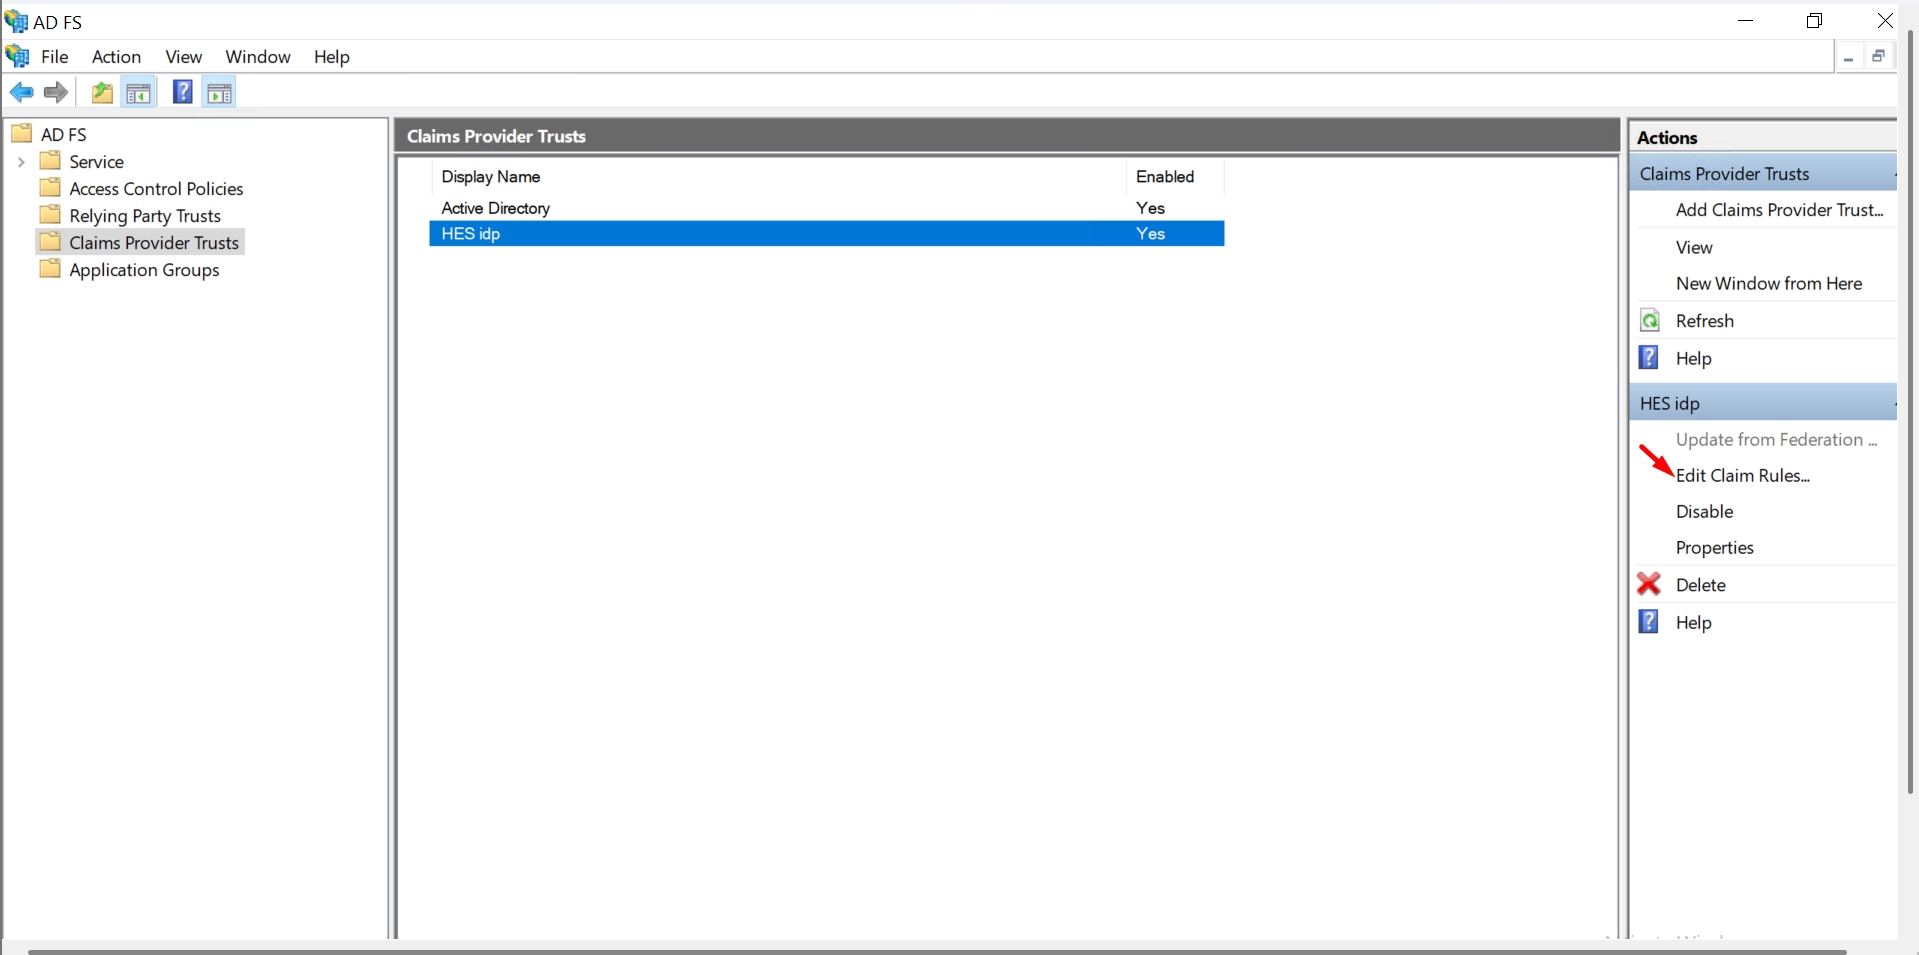
Create Claim Rules for the Claims Provider Trust:
Select the created Claims Provider Trust and click Edit Claim Rules → Add Rule.
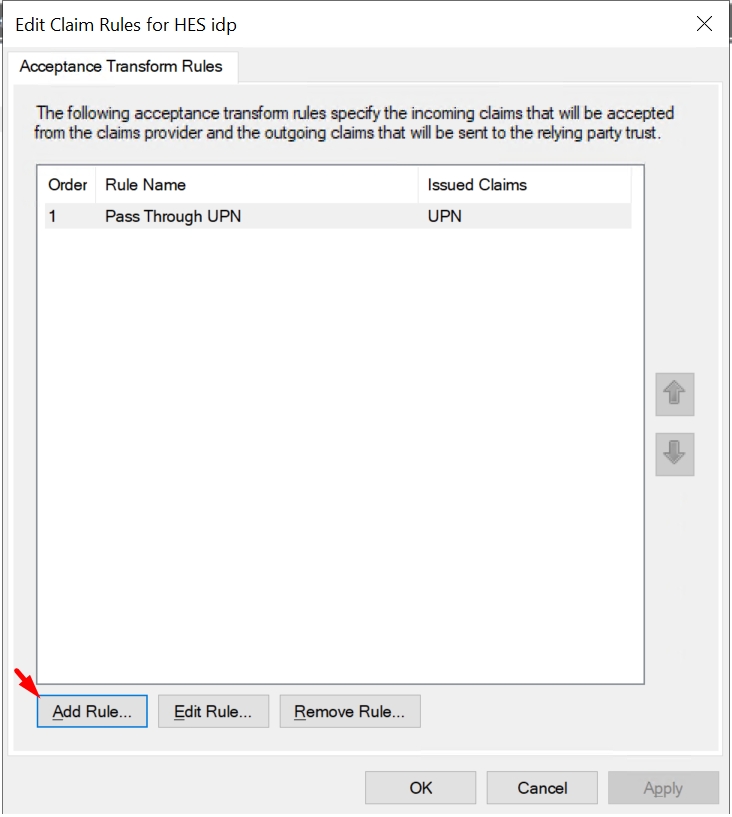
Choose Pass Through or Filter an Incoming Claim and click Next.
Enter the following configuration:
Claim Rule Name: Pass Through UPN
Incoming Claim Type: UPN
Click Finish to save the rule.
Additional Resources: